
Common adhesive tile installation mistakes — accordingly, why they matter
A clean-looking tile job does not always mean you installed it properly. At first, everything may seem flawless. However, after a few months, problems like tile loosening, cracking, detachment, or moisture penetration begin to show. In most cases, the cause is not low tile quality. Instead, one or more installation mistakes lead to these issues.
Adhesive tile installation is a series of connected steps, and each one plays an important role in the final durability. From surface preparation and choosing the right adhesive to the correct adhesive spreading method, installation timing, and tile placement, you must carry out every step carefully to achieve a long-lasting result.
In this article, we will examine the most common mistakes in adhesive tile installation. For each one, we will explain the cause, the possible consequences, and the ways to prevent it. If you are familiar with these mistakes, you can avoid many repair and rework costs. Ultimately, you will achieve a strong, durable, and standard-compliant tile installation.
Why tiles fail to bond with adhesive — accordingly, surface preparation mistakes before installation
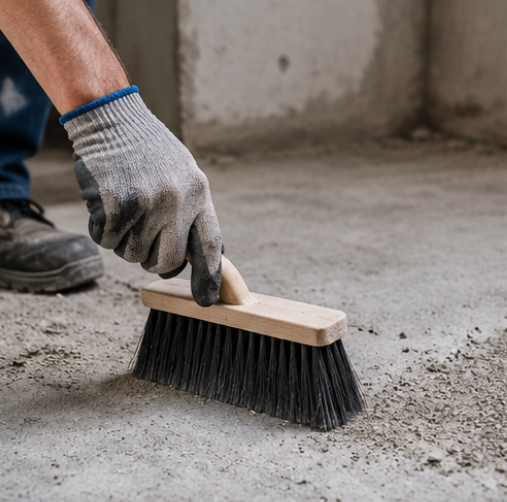
One of the most important steps before adhesive tile installation is proper surface preparation. Many people assume that if they use a good tile adhesive, they no longer need to pay attention to the surface condition. However, even the best adhesive cannot create a reliable bond on a surface that is not ready for installation.
Dust, grease, old paint, loose particles, or weak sections prevent the adhesive from properly bonding with the surface. In these conditions, the tile may seem completely stable in the first few days. However, after some time, reduced bonding strength causes problems, and signs like tile loosening or detachment appear.
What problems weaken tile bonding?
One common mistake is applying adhesive on a surface that is not yet prepared. For example, if layers of old paint, weak mortar, or peeling sections remain on the wall or floor, the adhesive bonds to a weak layer instead of a solid surface. As a result, the final durability of the tiling decreases.
Surface flatness is also very important. Depressions, bumps, or deep cracks prevent the adhesive from spreading evenly behind the tile. Consequently, some parts of the tile lack sufficient bonding, and the risk of damage increases.
To prevent these problems, thoroughly inspect and clean the surface before applying adhesive. Remove loose sections, and if there are major unevenness issues, correct the surface before installation. Also, check the moisture condition of the substrate, because a surface that is too wet or damp can negatively affect adhesive performance.
Finally, remember that surface preparation is the foundation of a successful installation. Many problems that appear later in tiling start at this stage. By following a few simple points at the beginning, you can avoid extra costs for repairing or replacing tiles.
Why tiles loosen after installation — accordingly, adhesive amount and application mistakes
Another common mistake in adhesive tile installation is ignoring the amount and method of spreading the adhesive on the surface. Some people think that using more adhesive makes the tile stronger. However, this assumption is not always correct. The adhesive amount should match the tile type, its size, and the surface conditions.
If the adhesive amount is less than needed, not all parts of the tile back come into contact with the adhesive, leaving voids. Over time, these voids can create point loads and eventually cause tile loosening or breakage.
How does improper adhesive spreading affect tile durability?
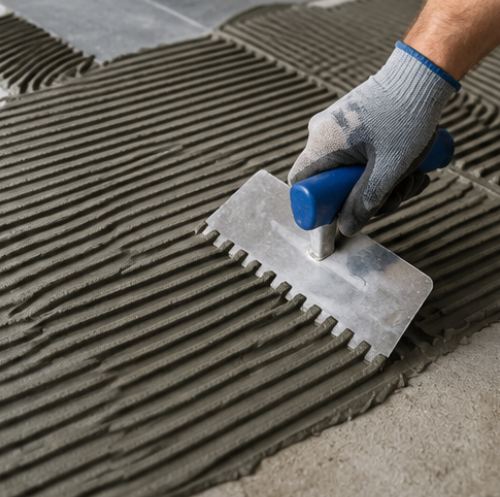
One mistake seen during application is placing the tile on a mound of adhesive without spreading it evenly. The adhesive should be spread with the right tool so that its thickness is almost the same everywhere. Using a notched trowel at this stage helps place the adhesive evenly and creates a better bond.
On the other hand, some people apply a large amount of adhesive to compensate for substrate unevenness. This causes the adhesive thickness to vary in different areas. After drying, it creates internal stresses. In such conditions, the likelihood of tile detachment increases.
The importance of full contact between tile back and adhesive
One important point in proper tile installation is creating enough contact between the tile back and the adhesive layer. If a large part of the tile back remains without adhesive, installation strength decreases. This is even more important for larger tiles or spaces exposed to moisture and temperature changes.
To prevent this problem, choose the right adhesive amount before installation. When placing the tile, apply slight controlled pressure to create a better bond. However, this pressure should not cause excessive adhesive to squeeze out from the tile edges.
Finally, proper adhesive application is not limited to using a good product. The spreading method and coverage behind the tile play a major role in the final quality. Following these simple points helps tiles remain problem-free on the surface for a long time
Why tiles fail to align — accordingly, rushed installation and poor tile adjustment
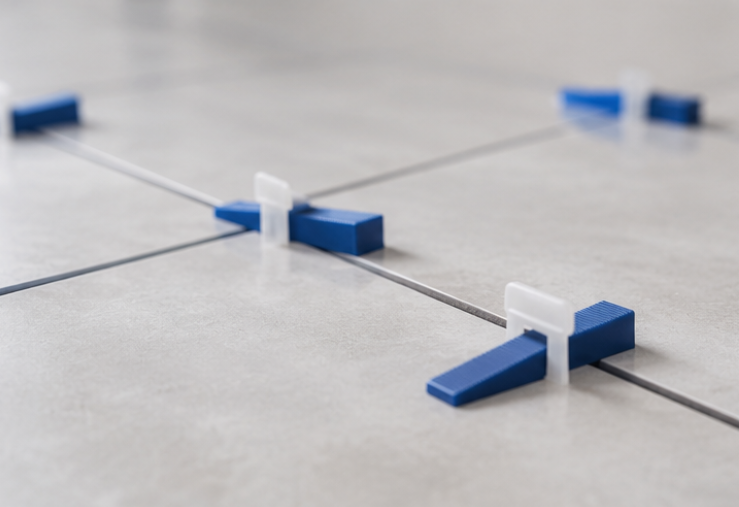
One problem seen in some tiling projects is uneven tiles and height differences between pieces. This problem usually happens when you install tiles in a hurry and do not allow enough time to adjust each piece precisely.
Some people assume that after placing the tile on the adhesive, they no longer need to check its position. However, the first few minutes after installation are an important window for correcting tile placement and creating a flat surface. If you do not adjust the tile properly, besides the poor appearance, some areas of the surface may experience more pressure. Over time, this leads to problems.
What problems does failing to set tile spacing cause?
One common mistake during installation is ignoring proper tile spacing. The gap between tiles is not just for appearance. In fact, it plays an important role in the final performance of the surface. This gap allows grout materials to sit properly. It also helps control minor changes from expansion and contraction.
If you install tiles without standard spacing, pressure between them may increase. In conditions like temperature changes, the risk of cracking or damage becomes higher.
Why is checking tile levelness during installation important?
After placing each tile, check its surface against the surrounding tiles. If one piece sits higher or lower than the others, it reduces appearance quality. It may also cause problems when using the floor or washing the surface.
To prevent this mistake, install tiles at a proper pace. After placing each piece, check its position and correct it if needed. Using leveling tools can also help create an even surface.
Finally, tile installation is not limited to sticking pieces to the surface. Careful tile leveling, spacing adjustment, and final inspection make the result not only better-looking but also more durable. Many defects you see after the work is finished can be prevented in the very first minutes of installation.
Why tiles detach over time — accordingly, choosing the wrong adhesive for the tile type
One mistake that can reduce tiling durability is failing to choose the right tile adhesive for the tile type and environmental conditions. Some people focus only on price or quantity when buying. As a result, they ignore differences between tile types and their installation locations. However, each tile requires a specific adhesive type based on weight, size, water absorption, and installation location.
For example, porcelain tiles are not like standard tiles due to their high density and very low water absorption. The back of these tiles absorbs less moisture from the adhesive. Therefore, you must use an adhesive with enough bonding strength to create a proper bond. Using the wrong adhesive in such conditions may make the tile seem stable at first. However, it will develop problems over time.
Why does tile type matter in adhesive selection?
Large, heavy, or dense tiles with smooth surfaces put more pressure on the adhesive layer. If the chosen adhesive cannot handle these conditions, the bond between tile and surface weakens. This is especially important on walls, facades, or spaces exposed to temperature changes.
Besides tile type, you must also consider the installation location. The conditions in a bathroom or kitchen differ from a dry space like a bedroom. The presence of moisture, steam, and temperature changes makes choosing the right adhesive even more important.
How can we prevent choosing the wrong adhesive?
Before starting, determine where the tile will be installed, its size and weight, and the condition of the substrate. Checking these factors helps you choose an adhesive that creates a proper bond in the long term.
Finally, choosing the right adhesive is one of the main steps in successful tiling. Even if surface preparation and application method are done correctly, using an unsuitable adhesive can affect the final result. Therefore, understanding tile characteristics and installation conditions before starting is very important.
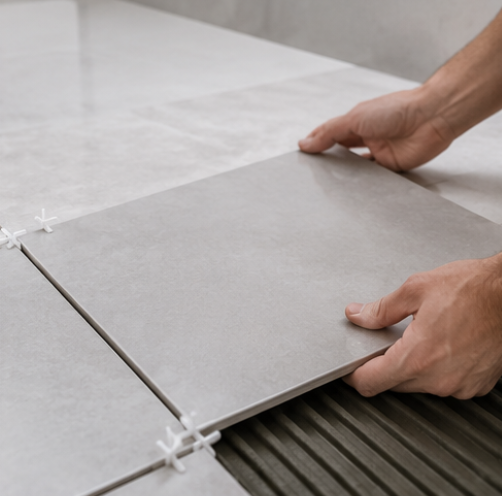
Why tiles detach over time — accordingly, choosing the wrong adhesive for the tile type
One of the most important reasons that reduces tiling durability is choosing the wrong tile adhesive for the tile type and installation location. When buying adhesive, some people focus only on price or consumption rate. As a result, they ignore differences between tile types. However, each tile requires an adhesive that can create a proper bond based on features like weight, size, material, and water absorption.
For example, porcelain tiles have different conditions than standard tiles due to their high density and very low water absorption. The back of these tiles absorbs less moisture. Therefore, the adhesive must have enough bonding strength to create a reliable bond between tile and surface. Using the wrong adhesive for such tiles may cause them to lose adequate strength over time and develop problems.
Why isn’t every adhesive suitable for every tile type?
Tile size and weight are also very important in adhesive selection. Larger tiles put more pressure on the adhesive layer due to their greater surface area and higher weight. If the adhesive cannot hold this weight, the likelihood of tile detachment or movement increases.
The installation location is another factor to consider. The conditions in a dry room differ from environments like bathrooms, kitchens, or outdoor spaces. In places with moisture, temperature changes, or direct water contact, using an adhesive suited to those conditions becomes more important.
How can we prevent choosing the wrong adhesive?
Before starting installation, check several factors: tile type, its size, the installation location, and the substrate condition. This simple assessment helps you choose an adhesive that performs well in the long term.
Also, do not assume that final quality depends only on adhesive type. Even the best adhesive cannot deliver good results if you choose it for unsuitable conditions or apply it incorrectly.
Finally, the right adhesive choice is one of the main steps in successful tiling. Understanding tile characteristics and paying attention to installation conditions helps you prevent problems like tile detachment, reduced bonding, and rework costs.
Conclusion
Adhesive tile installation is not limited to sticking tiles onto a surface. In fact, following points like proper surface preparation, choosing the right adhesive, correct application, and precise tile adjustment greatly affects the final durability of the work. By recognizing common mistakes and preventing them, you can achieve a strong and problem-free tile installation.