
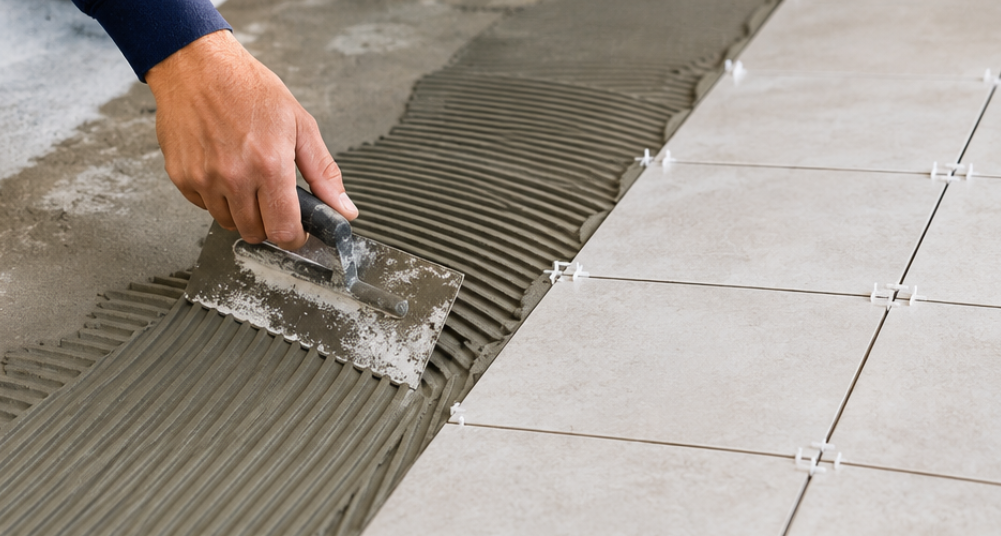
Best surface prep methods before tiling — and why this step matters more than the installation itself
If you have ever seen tiles become loose, crack, or even detach from the surface over time, you should know that in many cases the problem is not with the adhesive itself. Instead, poor surface preparation is the real cause of these issues. Even the best tile adhesive will only perform well when the substrate is in good condition. Dust, grease, unevenness, or excess moisture can reduce bonding strength and shorten the life of the tiles.
In this article, we will review the steps for surface preparation before tile adhesive application. We will also explain why this stage is so important. Furthermore, we will introduce common mistakes that many people make during surface prep, which reduce tile durability. Finally, we will cover what to do for different surfaces such as concrete, cement, plaster, old tiles, and painted surfaces.
By following proper surface preparation principles, the adhesive will create a stronger bond, tiles will last longer, and problems like loosening, cracking, or detachment will be reduced.
Key topics covered:
Why is surface preparation important before applying tile adhesive? A mistake that multiplies your costs.
Step-by-step surface preparation before tile adhesive application — follow these steps in order.
Preparing different surfaces before tile adhesive application — what method does each surface need?
Most common surface preparation mistakes that cause tile detachment.
Conclusion: why surface preparation is the most important step before tile adhesive application.
Why is surface preparation important before tile adhesive application? A mistake that multiplies your costs
Many people assume that the quality of tile adhesive is the only factor determining tile strength and durability. Therefore, they focus all their attention on choosing the right adhesive. However, they often overlook the stage that must be done before adhesive application. The truth is that even the best adhesives on the market will not perform well on a poorly prepared surface.
When the substrate contains dust, grease, moisture, cracks, peeling, or unevenness, the adhesive cannot bond properly. In such conditions, the connection between adhesive and surface will be weak. Over time, this leads to loosening, cracking, or tile detachment. This may not be obvious in the first few days. However, it usually appears after a few months and eventually leads to costly repairs or replacement.
What are the benefits of proper surface preparation?
Surface preparation is not just about cleaning. The goal is to create a surface where the adhesive can achieve maximum bonding. When the surface is clean, dry, solid, and level, the adhesive spreads evenly and forms a stronger bond between surface and tile. As a result, tile durability increases, the risk of cracking or detachment decreases, and future costs are avoided.
In addition, proper preparation makes adhesive application easier. The installer will have better control over the work. This reduces the chance of voids under tiles or uneven adhesive spread. This directly improves the final installation quality.
Therefore, if you want a long-lasting and trouble-free result, do not treat surface preparation as an extra step. Instead, consider it the most important part before tile adhesive application. In the following sections, we will fully examine what a suitable surface should look like and what actions should be taken before starting the work.
Surface prep steps before tile adhesive — accordingly, follow in order before installation
Surface preparation is the most important task before applying tile adhesive. Many problems that appear after installation — such as loosening, hollow sounds, cracking, or even complete tile detachment — happen because the substrate was not properly prepared. Therefore, experts always recommend carefully following a few simple but essential steps before starting the installation.
Thoroughly clean the surface
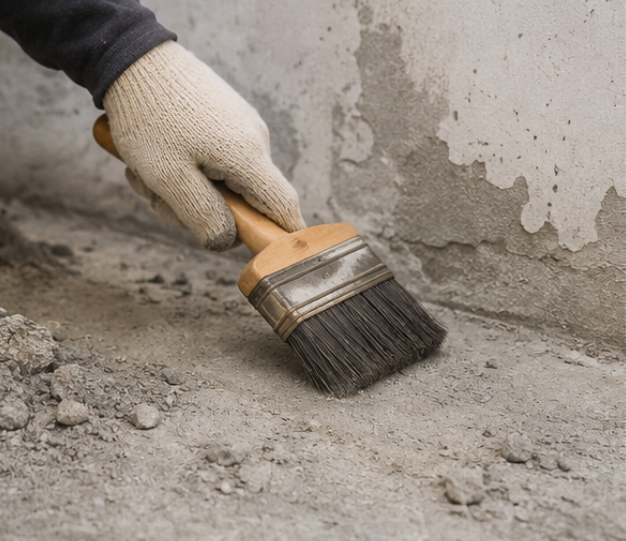
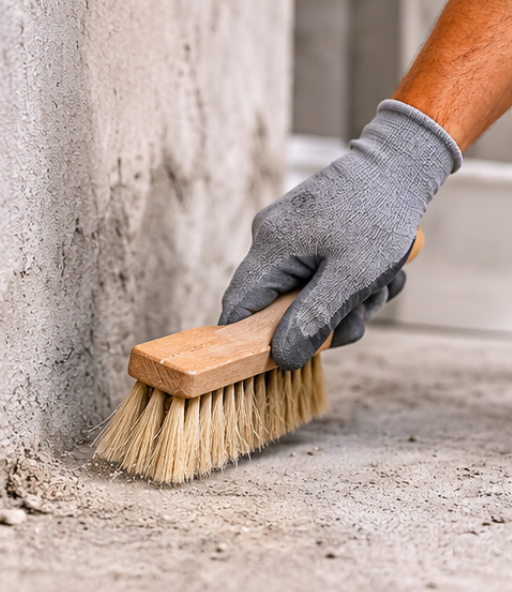
The first step is to remove all contaminants that can prevent bonding. Dust, grease, oil, paint, mortar residue, plaster, loose particles, and even soot can act as a separating layer. They prevent the adhesive from bonding to the main surface.
For cleaning, you can use a broom, wire brush, scraper, or suitable cleaning agents if needed. If you use cleaning agents, allow the surface to dry completely before applying the adhesive. Rushing this step will noticeably reduce installation quality.
Check surface strength and repair damaged areas
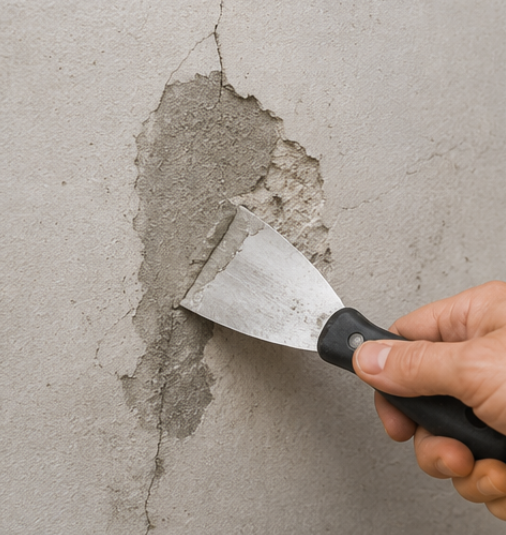
After cleaning, inspect the surface condition. If parts of the wall or floor are peeling, cracked, or easily detach when tapped, do not apply adhesive directly on them. In such cases, remove loose parts first and repair them with suitable materials.
If there are deep cracks or holes, fill them before installation. This ensures that the tile weight is distributed evenly and reduces the risk of future damage.
Level out surface unevenness
A common mistake is assuming that tile adhesive can compensate for all wall or floor unevenness. However, adhesive is designed for bonding — not for leveling significant height differences.
If the wall or floor has noticeable bumps or depressions, level them with mortar or self-leveling compound first. The more even the surface, the more uniform the adhesive layer will be. As a result, the final outcome will be stronger and more attractive.
Use primer if needed
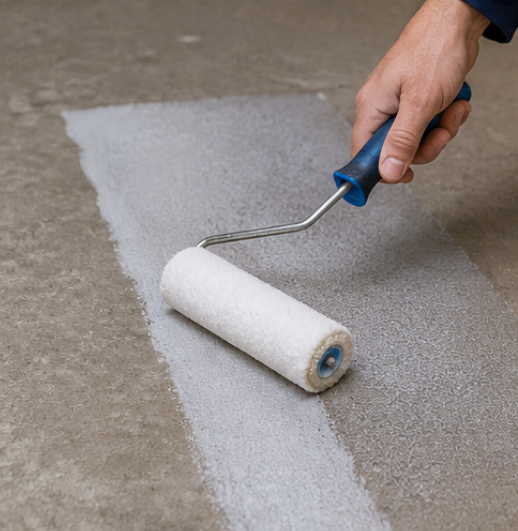
Not all surfaces are the same. Some surfaces, like fresh concrete or plaster, absorb water quickly. Others, like old tiles, have very low absorption. In these cases, primer can improve adhesive performance.
Primer controls surface water absorption, gives the adhesive enough time to cure, and creates a stronger bond between surface and tile. However, primer use should follow surface type and the adhesive manufacturer’s instructions.
If these four steps are done carefully, the surface will be ready for adhesive application. This will minimize problems like loosening, detachment, or cracking. Surface preparation may take some time. However, compared to the cost and hassle of repairing damaged tiles, the time spent on this step is well worth it.
Surface preparation for different substrates — accordingly, what method works for each?
A common mistake is assuming that all surfaces can be prepared the same way for tile adhesive application. However, each surface has its own characteristics. If it is not prepared accordingly, the risk of reduced bonding and future problems increases. Therefore, before starting, identify the surface type and choose the appropriate preparation method.
Cement and concrete surfaces
Cement and concrete surfaces are among the best options for tile installation — provided they are solid, clean, and dry. If dust, loose particles, or cement residue is present, clean them thoroughly with a brush or broom. Also, if the concrete is newly poured, allow enough time for it to dry and reach full strength. Applying adhesive on fresh concrete can reduce bond quality.
Plaster surfaces
Plaster is more sensitive than other surfaces due to its high water absorption. If adhesive is applied directly on raw plaster, the water in the adhesive may be absorbed too quickly. As a result, the adhesive may not have enough time to cure properly. Therefore, a suitable primer is usually used on plaster surfaces to control absorption and improve bonding. Also, if the plaster is peeling or loose, repair the damaged areas first.
Installing on old tiles
In many renovation projects, new tiles are installed over old ones. In such cases, the most important point is that the old tiles must be completely solid and not loose. Then, clean the surface of any grease, dirt, or stains. In some cases, surface roughening or using a special primer helps improve adhesion.
Final note
It does not matter whether the surface is concrete, cement, plaster, or old tiles. What matters is choosing the right preparation method for that specific surface. This will allow the tile adhesive to perform at its best, and the tiles will stay in place without problems for years.
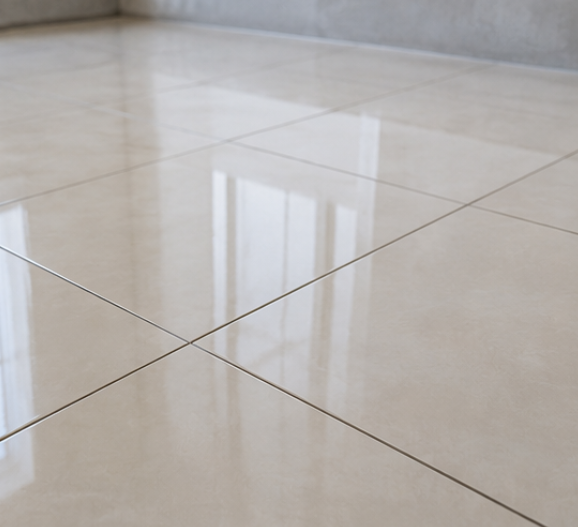
Common surface prep mistakes before tiling — accordingly, what causes tile detachment
Even if you use a high-quality tile adhesive, a few simple mistakes during surface preparation can ruin all your efforts. Many problems that appear months after tile installation are rooted in these mistakes. Fortunately, most of them are easy to prevent. You just need to pay attention to a few important points before starting.
Not cleaning the surface thoroughly
One of the most common mistakes is applying adhesive on a surface that still has dust, grease, paint, or mortar residue. These contaminants prevent direct contact between the adhesive and the surface. As a result, bond strength decreases. This may not be obvious at first. However, over time, the tiles will loosen or detach.
Ignoring cracks and loose parts
Some people apply adhesive directly without repairing cracks or removing peeling sections. In such cases, the adhesive may bond to the loose layer. However, that layer cannot bear the tile weight. As a result, the tile will detach together with part of the underlying surface.
Applying adhesive on a very wet or very dry surface
A surface with standing water is not suitable for tile adhesive. On the other hand, some surfaces are so dry and absorbent that they quickly draw moisture from the adhesive. This prevents proper curing. Therefore, check the moisture condition before application. If needed, use primer or other suitable preparation methods.
Using adhesive to compensate for major unevenness
Another common mistake is using thicker adhesive layers to level out height differences. This not only increases adhesive consumption but also reduces installation quality. If the surface is uneven, level it first with suitable materials. Then apply the tile adhesive.
Final note
Following these simple points can prevent many future problems. In fact, most post-installation failures are not related to adhesive quality. Instead, they result from poor surface preparation. The more careful you are at this stage, the longer-lasting and more professional the final result will be.
Conclusion: why surface prep matters most before tiling — accordingly, the key takeaways
At first glance, surface preparation may seem like a simple and minor step. However, as we have seen throughout this article, the quality of tile adhesive application largely depends on this stage. When the surface is solid, clean, level, and prepared according to the adhesive type, the bond between tile and substrate will be stronger. As a result, problems like loosening, cracking, or detachment are minimized.
On the other hand, ignoring details such as cleaning, repairing damaged areas, leveling uneven surfaces, or using primer where needed can cause even the best adhesives to underperform. Therefore, it is recommended to spend a few minutes inspecting and properly preparing the surface before starting the installation.
Finally, if your goal is a high-quality, long-lasting tile installation, do not focus only on choosing the right adhesive. When the right adhesive is combined with proper surface preparation, the final result will be fully satisfactory in both strength and durability. As a result, you will not need repairs or replacement for years to come.