
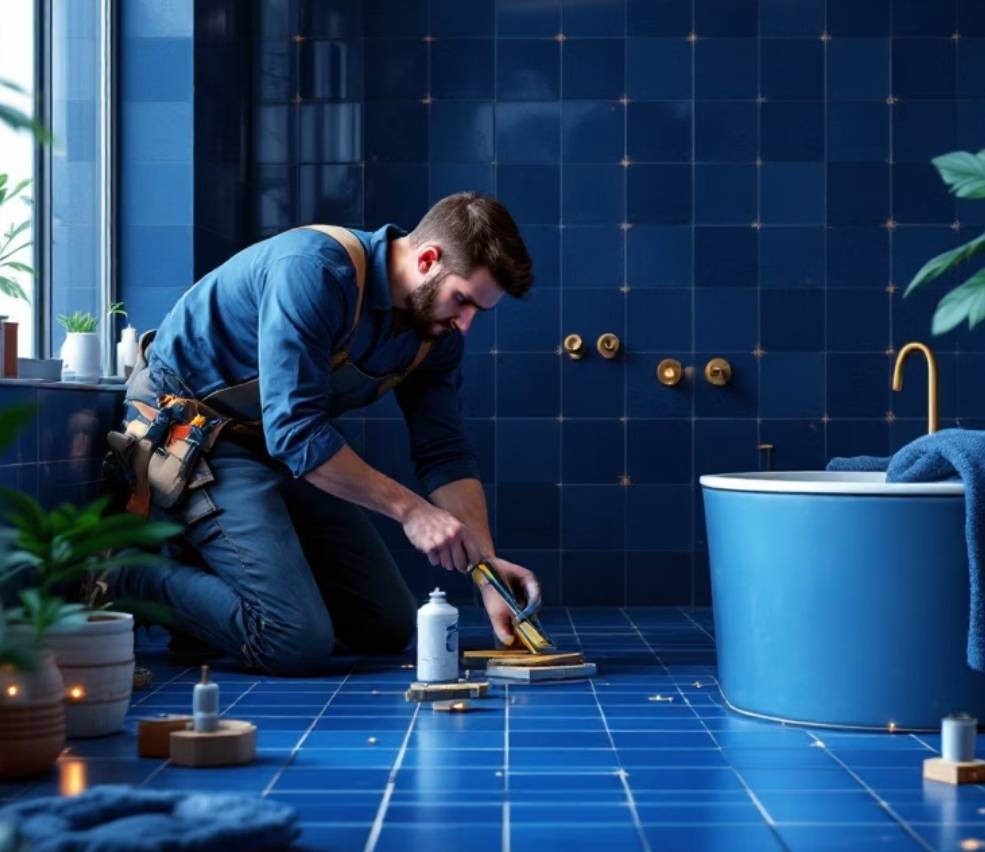
How to prevent water and moisture from penetrating to the back of the tile? A review of principled methods
Water and moisture penetration to the back of the tile is one of the most common problems in bathrooms, toilets, kitchens, and even balconies. This problem usually manifests itself through signs such as darkened grout lines, efflorescence, loosening of tiles, or a musty smell.
In this article, we will specifically examine:
Through what paths water penetrates to the back of the tile
What mistakes cause this problem
Principled methods of preventing water penetration before and after tiling
What materials and tools are required and how they should be used
The goal is that after reading the article, you will know exactly what to do to prevent water penetration and what materials to use.
From where exactly does water penetrate to the back of the tile?
Many people think that water only passes through the gaps between tiles. However, in practice, the paths of water penetration are more diverse, and sometimes even intact grouting still allows moisture to reach the back of the tile. Therefore, understanding these paths is very important for preventing water from penetrating to the back of the tile.
One of the most important paths is the gaps and grouting.
For example, regular grouting gradually becomes slightly porous over time due to washing, detergents, and temperature changes. When this happens, water gradually reaches the underlying layer. As a result, to prevent water penetration to the back of the tile, we must care for and maintain the grouting properly. This penetration is not visible at first, but after a while its effects appear.
Another important path is improper substrate preparation.
Specifically, if we do not properly prepare the surface underneath before tile installation, the mortar or adhesive cannot adhere uniformly to the surface. In this case, tiny empty spaces remain behind the tile, and these spaces become places where moisture accumulates. Consequently, principled substrate preparation represents the first step in preventing water penetration to the back of the tile.
The next factor is very fine cracks in the wall or floor.
These cracks are sometimes invisible to the naked eye; nevertheless, water easily passes through them. When moisture reaches the underlying layers, it gradually causes the tile to detach or become hollow (drummy). Therefore, we must also repair small cracks to block the path of water penetration to the back of the tile.
In addition, failing to use waterproofing materials in humid environments is one of the main causes of this problem. For instance, in spaces such as bathrooms or toilets, constant moisture exists, and if we use only regular mortar or adhesive, these materials alone cannot sufficiently prevent water penetration to the back of the tile.
Finally, we should mention the deterioration of materials over time. Even if we do the job completely correctly in the beginning, after several years the grouting or protective layers may lose their original properties, and thus the path of water penetration may open up. Hence, regular maintenance and periodic inspection of materials play an essential role in preventing water penetration to the back of the tile.
Understanding these paths is important because we can choose the right solution only when we know exactly where water enters from and what measures we should take to prevent water penetration to the back of the tile.

What mistakes cause the tiling to not withstand water?
In many projects, the problem of water penetration to the back of the tile occurs because several important points are overlooked during execution. These mistakes are usually not visible at first; however, they reveal themselves after a few months or a few years.
One of the most common mistakes is not properly preparing the surface before tiling.
Specifically, the surface underneath must be clean, dust-free, grease-free, and as uniform as possible. When we do not take this step seriously, the adhesive or mortar does not bond well to the surface, and small empty spaces remain between the tile and the wall or floor. Consequently, these spaces gradually become places where moisture accumulates.
Another important mistake is using unsuitable mortar or adhesive for humid environments.
For example, some materials are designed for dry spaces and do not have sufficient resistance to constant moisture. Therefore, using such materials in bathrooms, toilets, or terraces causes water to gradually pass through the layers.
The next issue is the lack of a waterproofing layer before tile installation.
Many people think that the tile and grouting themselves prevent water from passing through. However, in principled work, we apply a protective layer on the surface before tile installation so that if water passes through the grout, it does not reach the underlying layers. As a result, omitting this step is one of the main causes of dampness behind the tile walls.
Another mistake is weak or unprincipled grouting.
If we do not completely fill the grout lines or use unsuitable materials, water very easily enters through this path. Moreover, in some cases, the grouting also cracks over time, and these cracks open up the path of water penetration.
In addition, not respecting the drying time of the layers is a common error. If we do the tiling before the substrate or protective layers are completely dry, moisture becomes trapped in the layers and will gradually cause the tile to detach or become hollow (drummy).
Another point that receives less attention is improper sloping of floors.
When we do not properly direct water toward the floor drain, it accumulates in certain areas and finds more opportunity to penetrate.
These mistakes seem simple on the surface; nevertheless, each one can cause even a brand-new tiling job to develop problems within a short period of time.
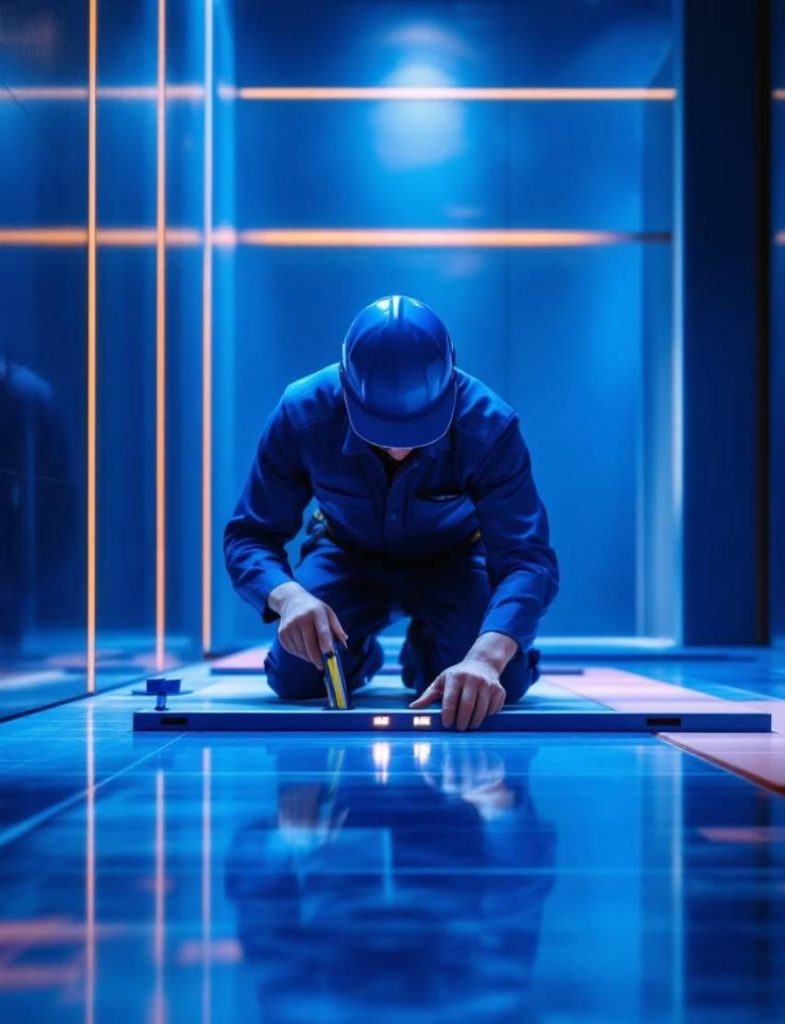
Exactly how to prevent water from penetrating behind the tile? (Principled step-by-step method)
This section is the most important part of the article. If the following steps are executed properly, the path of water penetration will be effectively closed, and the likelihood of dampness, tile loosening, and substrate deterioration will be minimized. Here, I explain the process in a principled and practical manner—neither oversimplified nor vague.
1. Take the substrate seriously; everything starts here
Before any waterproofing or tiling, the condition of the surface must be inspected. The wall or floor must be:
Completely clean
Free of dust, grease, and loose particles
Free of active cracks
Free of free moisture
If the cementitious or concrete surface has cracks, the cracks must be repaired with appropriate repair mortar or cement-based repair fillers. If there are hollow or loose sections, that area must be removed and repaired again. Applying waterproofing over a loose surface is practically useless.
In bathroom and toilet floors, checking the sloping is very important. Water must move toward the floor drain without stopping. If the proper slope does not exist, it must be corrected first, and then proceed to the waterproofing stage.
2. Applying the waterproofing layer; the most important step of the job
If you are going to do only one section completely properly, it is this step. In humid environments, tiles should not be installed directly over regular mortar. First, a specialized waterproofing layer must be applied over the substrate.
For this purpose, one of the following options is typically used:
Cementitious waterproofing membranes (two-component or one-component)
Polymer waterproofing coatings
Liquid waterproofing membranes specifically for toilets and bathrooms
After application, these materials create a water-impermeable layer. The important point is that this layer must:
Be applied uniformly over the entire surface
Corners and wall-to-floor junctions must be carefully covered
Be applied in at least two layers (the second layer perpendicular to the first layer)
In corners and around pipe penetrations, it is better to use waterproofing tape or reinforcement to reduce the likelihood of cracking.
After application, the layer must be allowed to dry and cure completely. Rushing this step will undo all the effort.
3. Using tile adhesive suitable for humid environments
After applying the waterproofing layer, it is time for tile installation. In environments such as bathrooms or terraces, using traditional mortar is not recommended. It is better to use a moisture-resistant tile adhesive.
The adhesive should have the following properties:
High adhesion
Resistance to constant moisture
Appropriate flexibility to prevent cracking
Compatibility with the underlying waterproofing layer
The adhesive should be applied using a notched trowel to achieve a uniform thickness. Also, it is better for the back of the tile to have a thin layer of adhesive if needed, so that no empty space remains.
The presence of empty space behind the tile is one of the main causes of water accumulation. The tile must fully bond to the substrate.
4. Water-resistant grouting
Grouting is not just about aesthetics. This step is one of the defensive lines against water penetration.
In humid environments, it is better to use:
Water-resistant polymer grouts
Or epoxy grouts in very humid spaces
The grout must be fully injected into the depth of the joints. Leaving empty space in the grout lines means creating a path for water penetration. After application, sufficient time must also be allowed for complete drying.
When using epoxy grout, the resistance to water penetration will be much higher, although its application requires more precision and experience.
5. Sealing sensitive joints with silicone or suitable sealant
The wall-to-floor junction, areas around faucets, around the floor drain, and the edge of the bathtub are very sensitive points. These areas typically experience the highest rate of water penetration.
In these areas, flexible moisture-resistant sealants should be used. These materials have elasticity and do not crack due to temperature changes or minor structural movements.
Neglecting these areas will cause water to penetrate through these very points, even with complete waterproofing.
6. Final test before use
After finishing the work, it is better to perform a simple test before fully using the space. For example, on the bathroom floor, the surface can be kept moist for several hours and checked to see whether leakage or dampness is observed in adjacent areas.
In professional projects, a water hold test is performed before project handover. This prevents future demolition costs.
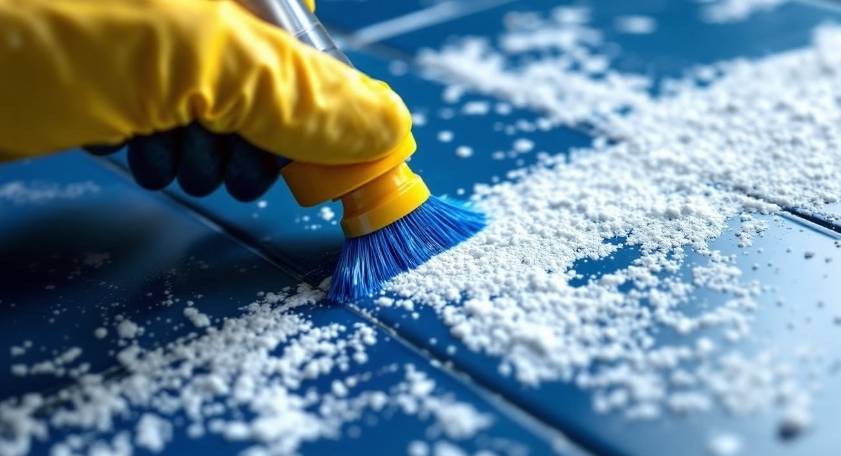
Practical solutions for preventing water penetration to the back of the tile
Surface preparation
The first step for any waterproofing project is preparing the surface. However, even the best materials will not perform as needed if we do not prepare the surface properly.
Checking cracks and weak points: Before anything else, carefully inspect the wall or floor. We must repair any crack or cavity with mortar. For example, deep cracks require a thick layer of mortar, while surface cracks need thin repair materials.
Cleaning the surface: Dust, oil, grease, or dry mortar will reduce adhesion. Therefore, clean the surface with a brush or sponge and water, and then wait for it to dry completely.
Smoothing the surface: We must fill any roughness or protrusion with mortar or special paste to make the surface even.
Selecting and applying waterproofing
Proper waterproofing is the main step in preventing water penetration.
Waterproofing materials: We recommend using liquid or paste-type waterproofing specifically for humid environments. After drying, these materials create a uniform, impermeable layer.
Application method:
Apply the first layer over the entire surface using a brush or trowel.
After the first layer dries, apply the second layer perpendicular to the direction of the first layer.
We must waterproof corners, wall-to-floor junctions, and areas around floor drains with extra care.
Important note: The waterproofing layers need at least 24 hours to dry to achieve the necessary resistance.
Using suitable tile adhesive
After waterproofing, it is time for tile installation. Choosing the right adhesive plays a critical role.
Properties of suitable adhesive: It must be specifically for humid environments, have flexibility, and provide high adhesion.
Application method:
We should use a notched trowel for even spreading of the adhesive.
For large tiles, we should also apply a thin layer of adhesive to the back of the tile.
Press the tiles and ensure that no empty spaces remain behind them.
Grouting and sealing joints
Grouting is one of the main barriers against water penetration. Therefore, in humid environments, you must use moisture-resistant materials.
Suitable materials: Use polymer or epoxy grout, which have high resistance to water.
Application method:
Completely fill the joints and ensure the depth is observed.
After applying the grout, clean the surface with a sponge.
We must seal areas around faucets, shower enclosures, or pipes with a flexible sealant.
Allowing drying time
One of the common mistakes is using the bathroom or toilet too soon after tile and grout installation.
Specifically, the waterproofing layer and tile adhesive need sufficient time to dry. Moreover, the grouting should dry for at least 24 to 48 hours.
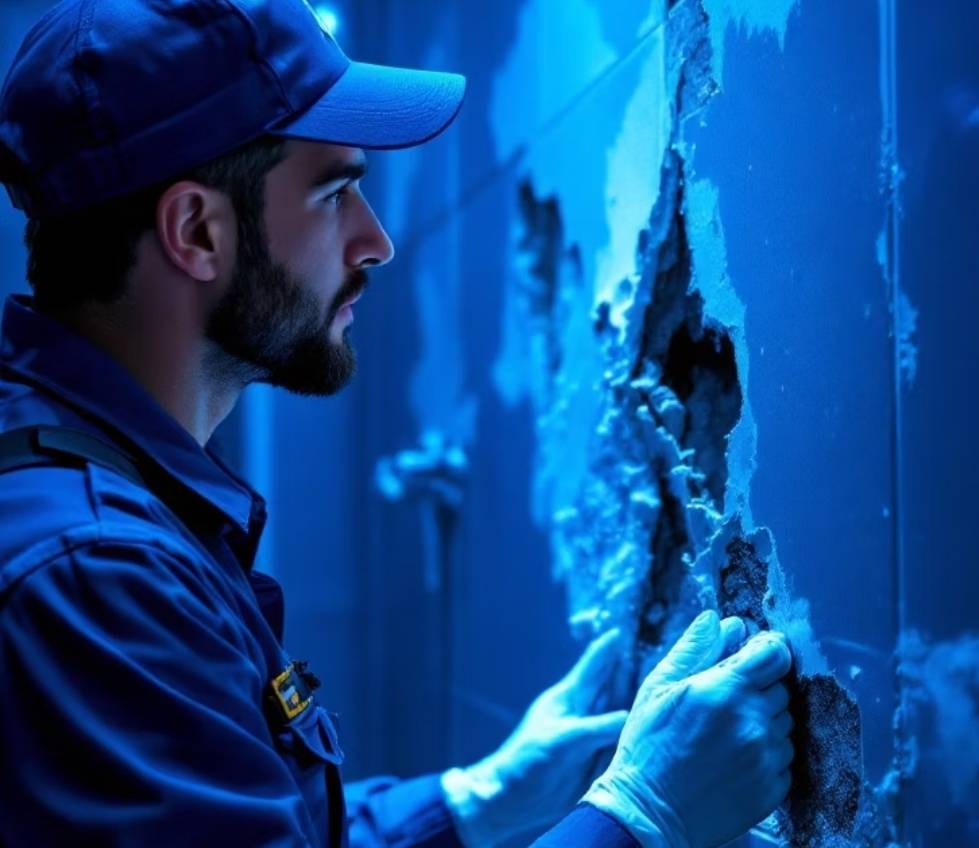
Tools and materials required for waterproofing the back of the tile
1. Basic tools
For proper waterproofing and tile installation, having the right tools is essential:
Notched trowel: For evenly spreading the tile adhesive on the surface and on the back of the tile. The notch size is selected according to the tile size.
Brush or roller: For applying the liquid waterproofing layer to the wall or floor surface. Using a roller for large surfaces increases work speed.
Sponge and water bucket: For cleaning excess adhesive and grout and maintaining a smooth tile surface.
Putty knife and small trowel: For precisely filling cracks and corners with repair mortar or sealant.
Level or spirit level: To ensure the surface is flat and the floor has proper slope, especially in toilets and bathrooms.
2. Required materials
Suitable waterproofing materials guarantee the quality of the work:
Liquid or paste-type waterproofing: These materials make the surface impermeable after drying. It is better to choose a product that has high resistance to moisture and water vapor.
Tile adhesive suitable for humid environments: It should be flexible and have high adhesion. If you are installing large tiles, the adhesive must be able to withstand the tile’s weight and prevent empty spaces behind the tile.
Waterproof grout or sealant: Polymer or epoxy that is resistant to moisture and stains. Match the grout color with the tile or wall color.
Repair mortar: For filling cracks or cavities in the surface before applying the waterproofing. The mortar should be cement-based and have sufficient strength after drying.
3. Product purchasing and selection tips
Reputable brand: Always use high-quality products from a reputable brand to ensure durability and resistance.
Read technical specifications: On the product packaging, check the water resistance level, drying time, flexibility, and compatibility with humid environments.
Sufficient quantity: Before starting work, calculate the product consumption based on square meters so you do not run out during the job.
Production date: An expired product will not have the necessary quality and effectiveness.
How can I tell whether water penetration is from the back of the tile or from the plumbing?
Is darkened grout always a sign of water penetration?
If only one tile has loosened, does that mean the entire substrate has a problem?
Can a musty smell without visible stains also be a sign of water penetration?
How can I tell if there is empty space under the tile?
Does efflorescence on the wall behind the tile mean complete failure of the waterproofing?
If only the wall shared with the neighbor is damp, where is the problem coming from?