
How to replace kitchen tiles without the need for a specialist?
Replacing kitchen tiles is one of the most common home renovation projects. Sometimes tiles can become damaged, stained, or lose their original appeal over time. Many people think they need to hire a professional to do this job, but the truth is that replacing tiles is a do-it-yourself project when done correctly. With the right tools and simple steps, it can be done in less time and money. In this article, we’ll walk you through all the steps involved in replacing kitchen tiles. From choosing the tools and materials you need to install your new tiles to the care tips to ensure they last a lifetime, we’ll show you how to replace your kitchen tiles without the need for a professional.
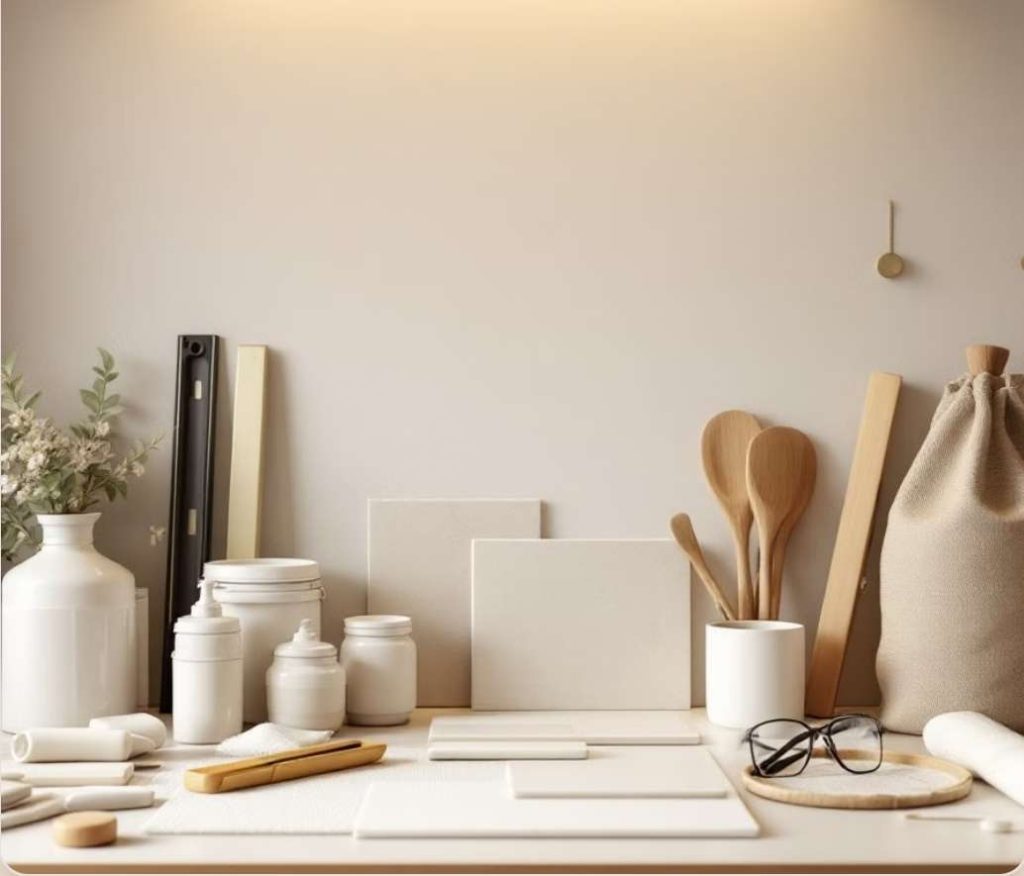
Tools and materials needed
Before starting any project, it’s important to have the right tools and materials. Replacing kitchen tiles also requires a number of specialized tools to get the job done in the best possible way. Some of the essential tools include:
- Hammer and scraper: To remove old tiles from the surface.
- Electric drill and drill bit: For drilling holes in old tiles, if needed.
- Tile adhesive: For attaching new tiles to the surface. The type of adhesive is selected depending on the type of tile and its underlying surface.
- Grout or mortar: To fill the gaps between tiles and stabilize them.
- Leveling: To ensure the tiles are installed evenly and evenly.
- Brush: For cleaning surfaces after installing tiles.
- New tiles: The choice of tiles depends on your taste. Make sure that the tiles are selected from the right material for the kitchen.
- Meter and ruler: For measuring and designing the tile layout.
- Tile cutter: Used to cut tiles.
These tools should be ready before you start the project so you can get the job done without interruption. Additionally, for your safety, be sure to wear gloves and safety glasses.
Surface preparation and work safety
Make sure the subfloor is solid before you begin, or remove the tiles underneath. If the subfloor is not properly prepared, the tiles are more likely to fall or crack.
- Surface cleaning: First, you must clean the underlying surface of any dust, grease, or any other contamination.
- Check the surface condition: The underlying surface should be smooth and firm. If the surface is damaged or unsuitable, you need to repair and restore it.
- Safety: Always wear gloves and safety glasses when performing any operation with power tools or hammers. If you need to use a drill or other device, follow the instructions carefully to avoid potential hazards.

Removing old tiles
Removing old tiles from a wall may seem easy, but it requires care. You need to be careful not to damage the wall or the surface underneath.
- Using a hammer and chisel: To remove the tiles, use a hammer and chisel. First, make small holes around the tiles and then use the chisel and hammer to pry the tiles away from the wall.
- Remove tiles gradually: Tiles may be attached to the wall with glue or mortar. After removing one tile, you should remove the remaining tiles slowly and carefully to avoid damaging the surface underneath.
- Cleaning: After removing the tiles, thoroughly clean the wall surface to remove any remaining adhesive or mortar.
Measuring and designing the layout of new tiles
Before installing new tiles, you need to take precise measurements to ensure the tiles are laid out correctly. This is a critical step that will help you achieve better results throughout the project.
- Accurate Measurement: First, you need to measure the width and height of the wall to calculate the exact number of tiles needed.
- Layout Design: Planning the layout of your tiles will help you create a neat and consistent pattern. For example, you can start laying tiles from the most visible area (the bottom row).
Installing new tiles
Now that you have completed all the preparation steps, it is time to install the new tiles. Installing tiles may seem a bit challenging at first, but it will be easier if you follow these tips:
- Gluing the tiles: First, coat the wall surface with tile adhesive. The adhesive should be spread evenly over the surface.
- Installing the tiles: Carefully place the tiles on the adhesive. Use a level to make sure the tiles are installed flush.
- Spaces between tiles: Use special spacers to create uniform spaces between tiles. These spaces will be filled with grout after installation.
Tying and finishing work
After the tiles are installed and the tile adhesive has dried, the grouting stage begins. This stage is very important, as grouting ensures that the tiles are firmly in place and their surface appears smooth and even.
- Filling the joints: Apply the grout to the joints between the tiles using a spatula or trowel. The grout should be completely filled in all joints.
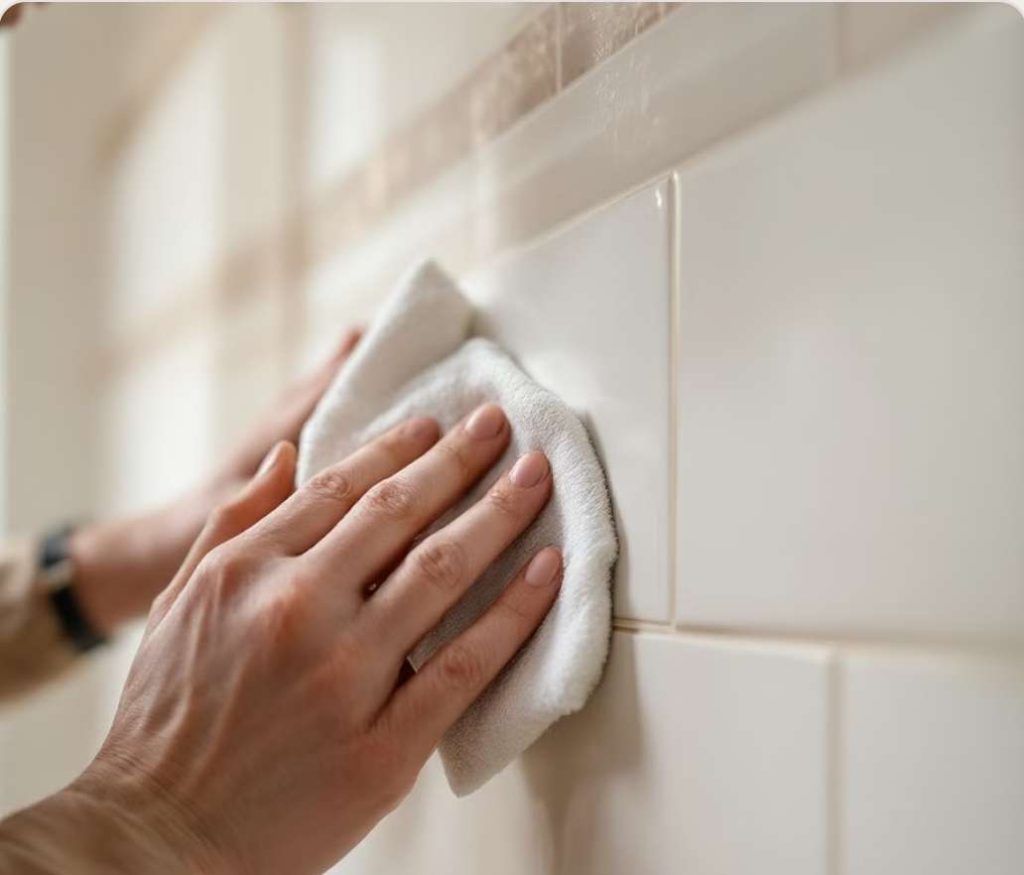
- Cleaning: After filling the joints, use a damp sponge to clean the surface of the tiles and remove any remaining grout.
Care and maintenance of new tiles
To make your new tiles last longer, you need to take proper care of them. The following tips will help you keep your tiles in great condition:
- Regular cleaning: Clean the surface of the tiles using a soft cloth and non-abrasive detergent.
- Chemical Caution: Avoid using strong detergents or chemical acids on tiles, as they may damage their surface.
Common mistakes and ways to avoid them
While replacing kitchen tiles, you may come across some common mistakes. To avoid these mistakes, follow these tips:
Project cost estimation and budgeting
To estimate the cost of replacing kitchen tiles, you need to consider a few important factors:
- Cost of tiles: Depending on the type and brand of tiles, prices can vary greatly. Ceramic, stone, or glass may have different prices. Choosing tiles that are both aesthetically pleasing and affordable can go a long way in reducing costs.
- Cost of tools and other materials: In addition to the tiles, you need to consider the cost of adhesive, grout, spacers, and other consumables. Some tools may need to be purchased or rented for a specific project. For example, a special hammer or tile cutter may result in additional costs.
- Time cost: If you do the work yourself, your time is not included, but if you want to use outside labor, you will also need to factor in labor costs. The costs of professional services for installing tiles are usually calculated on an hourly or per square meter basis.
Ultimately, by comparing prices and choosing the right materials, you can complete the project within a reasonable budget.
Tricks for beginners
If you don’t have enough experience in installing tiles, these few tips may be useful to you:
- Start at the corners: Always start installing tiles at a corner of the wall. This will keep the side tiles that need to be cut close to the wall and less noticeable.
- Use a plumb line: To make sure the tiles are installed in a straight line, use a plumb line. This simple but effective tool can help you ensure that no tiles are out of place.
- Accurate measurements: Accurate measurements of the wall and tile dimensions can prevent serious problems. For this reason, double-check the measurements before starting the installation.
- Cutting tiles accurately: Using a tile cutter will help you cut tiles accurately without causing cracks or breakage.
Creative ways to design and personalize tiles
If you want your kitchen tiles to be special and unique, these design tips will help you:
- Use different patterns: You can use different patterns to design tiles. For example, combining large and small tiles or using tiles with geometric designs can give your kitchen a different look.
- Use contrasting colors: Combining contrasting colors can give tiles a special look. For example, using white and black tiles or combining light and dark colors can create a modern and attractive space.
- Textured tiles: If you are looking for a unique design, you can use textured tiles. These tiles usually give a sense of depth and movement to the space.
Solutions to fix problems after installing tiles
Sometimes, after installing tiles, you may encounter problems such as uneven seams, broken tiles, or other problems. To fix these problems, take these steps:
- Fixing uneven joints: If the grout has not filled the gaps between the tiles properly, you can use a small spatula to fill the gaps and clean the surface with a damp sponge.
- Replacing broken tiles: If the tiles are broken after installation, you can replace them with new tiles. To do this, carefully remove the broken tile and apply new adhesive.
- Fix alignment issues: If the tiles are not aligned properly, you will need to carefully realign them and use more adhesive or grout if necessary.
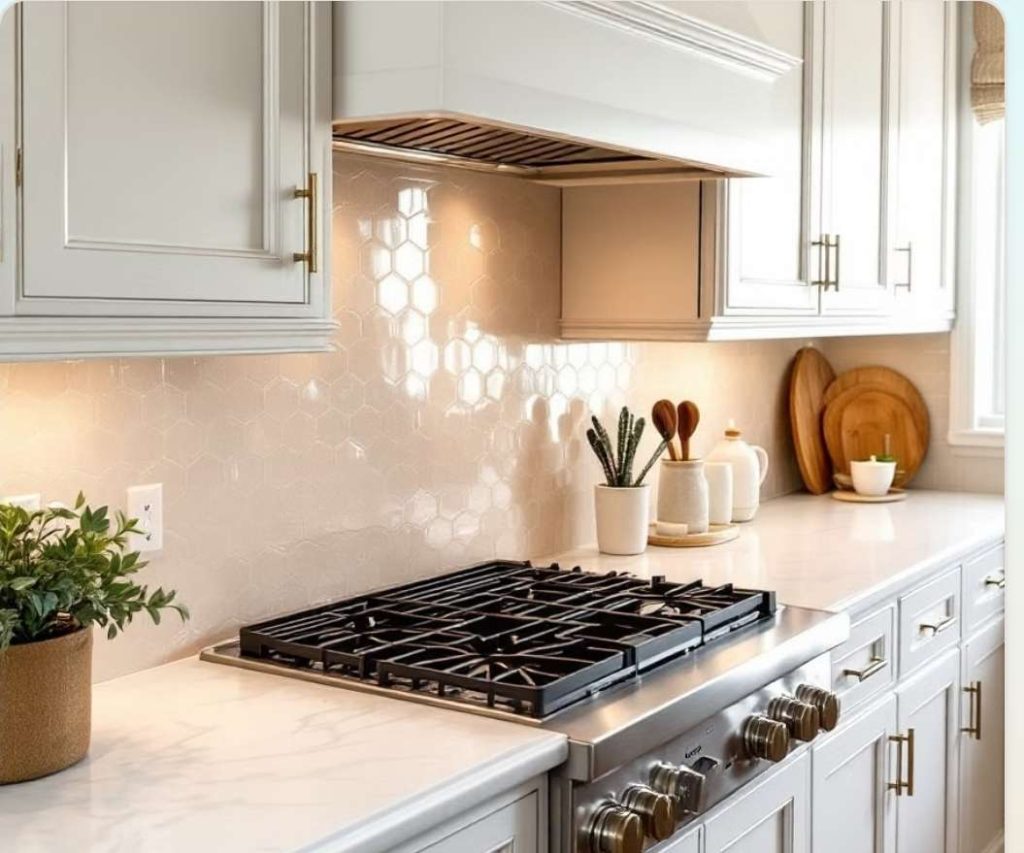
How to install tiles behind a gas stove?
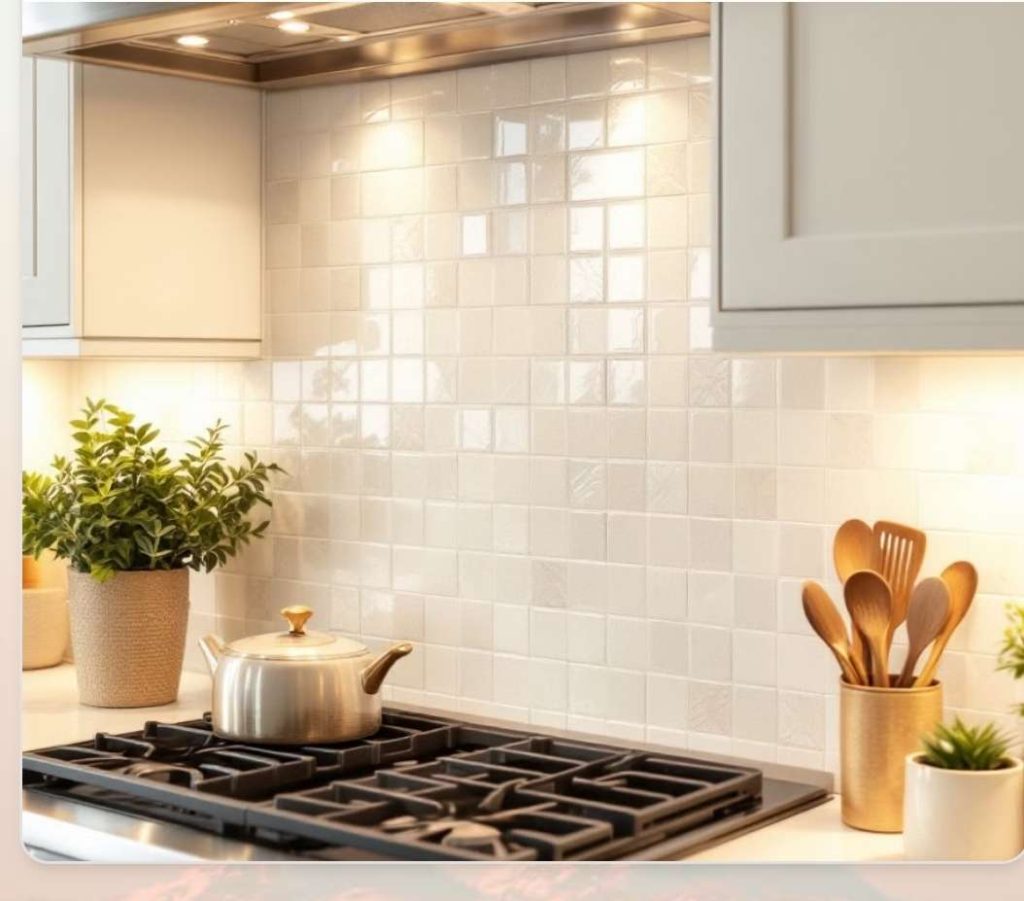
Tiles behind gas stoves usually require extra care due to exposure to heat and grease. To install tiles in these areas:
- Choosing the right tile: Use heat and grease resistant tiles. Ceramic and glass tiles are usually more suitable for this area.
- Surface Cleaning: Before installation, clean the surface of any grease or stains so that the adhesive adheres properly.
- Install carefully: After installing the tiles, make sure that all joints are filled with grout and that no gaps or voids are left.
The best ways to maintain and increase the durability of new tiles
To ensure that new tiles last longer, they need regular care:
- Regular cleaning: Using a soft cloth and mild detergent to clean tiles will help maintain their beauty. Avoid harsh detergents.
- Preventing damage: Avoid applying excessive pressure or impact to the tiles. Also, be careful not to spill chemicals such as acids or solvents on the surface of the tiles.
Aesthetic tips for coordinating tiles with kitchen decor
To make sure the tiles match your kitchen decor, consider these tips:
- Choosing the right color: The color of the tiles should match other kitchen components, such as cabinets and countertops.
- Consider your decor style: If your kitchen is modern, choose tiles with simple, minimalist designs. For traditional kitchens, tiles with more intricate designs will be more appropriate.
- Using mirrors or shiny tiles: Using shiny tiles can reflect light and brighten the space.
Conclusion
Replacing kitchen tiles may seem complicated at first, but with the right steps and patience and care, you can complete this project successfully. Not only will this give you a cleaner, more beautiful kitchen, but you will also experience the satisfaction and accomplishment of a successful job. So if you are still hesitant, start with confidence and be sure that by following the basics, the result will be the best. Remember that any project may have challenges at first, but with perseverance and learning from experiences, you can achieve your goal and enjoy the result.