

Why is tile repair and re-grouting important?
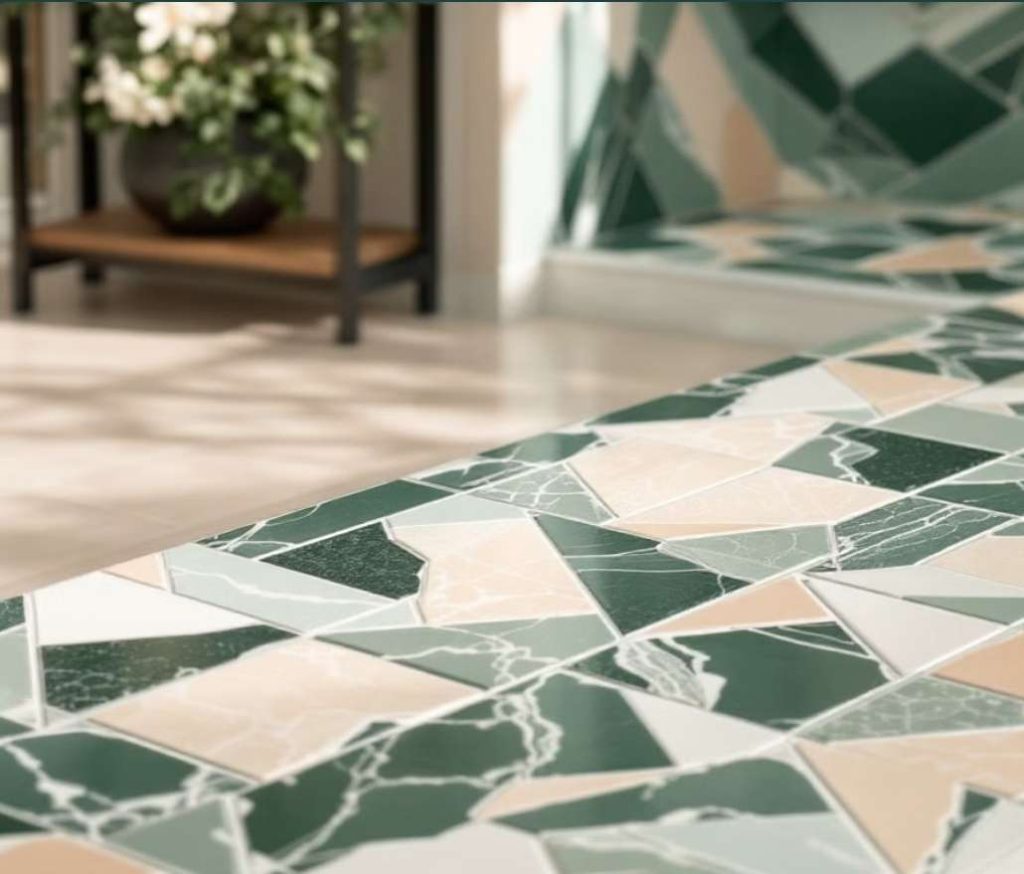
Tiles are among the most widely used materials in interior and exterior decoration of buildings. From the floors and walls of bathrooms and kitchens to courtyards and exterior facades, tiles play an important role in the beauty and durability of structures. However, over time, moisture, cleaning agents, and environmental factors can cause the wear and cracking of the grout lines between the tiles. This not only gives an unsightly appearance to the surface but can also lead to water infiltration and serious damage to the building’s infrastructure.
Grouting plays a vital role in maintaining the strength and longevity of tiles. This material acts like a protective shield, preventing moisture from penetrating beneath the tiles. If the grout is not repaired in time, the tiles may become loose, crack, or even detach. This issue increases future repair costs and, in severe cases, may require complete replacement of the surface.
With regrouting, not only do the tiles look fresh and beautiful again, but their lifespan is also extended. In this article, all the necessary steps for repairing and regrouting tiles will be reviewed step-by-step, so that you can properly perform this task without the need for a professional.
Signs of needing to grout and repair old tiles
Over time, tiles and their grout lines are exposed to wear and damage.
But how can we tell when it’s time for repairs and regrouting? Below, we review some of the most important signs:
Cracks or breakage in the grout lines
One of the first signs of deterioration is the appearance of cracks in the grout between the tiles. These cracks may initially be small and minor, but over time they expand and allow moisture to penetrate beneath the tiles.
Discoloration of grout due to moisture and dirt
Grout is often exposed to water and cleaning agents. If you notice that the grout has turned yellow, brown, or black, it’s likely that moisture and dirt have infiltrated, creating a perfect environment for mold and mildew growth.
Loosening or detachment of tiles
If you notice tiles wobbling when you walk over them, or if some tiles have completely detached, this could indicate weak grout.
In such cases, moisture has likely seeped into the underlying layers, weakening the tile adhesive.
Water penetration into underlying layers
In bathrooms, restrooms, and kitchens, damaged grout can cause water to leak into lower floors. If you notice water stains on the ceiling of the floor below, the grout of the tiles above has probably deteriorated.
Paying attention to these signs and acting promptly to repair the grout can prevent more serious damage and additional costs.
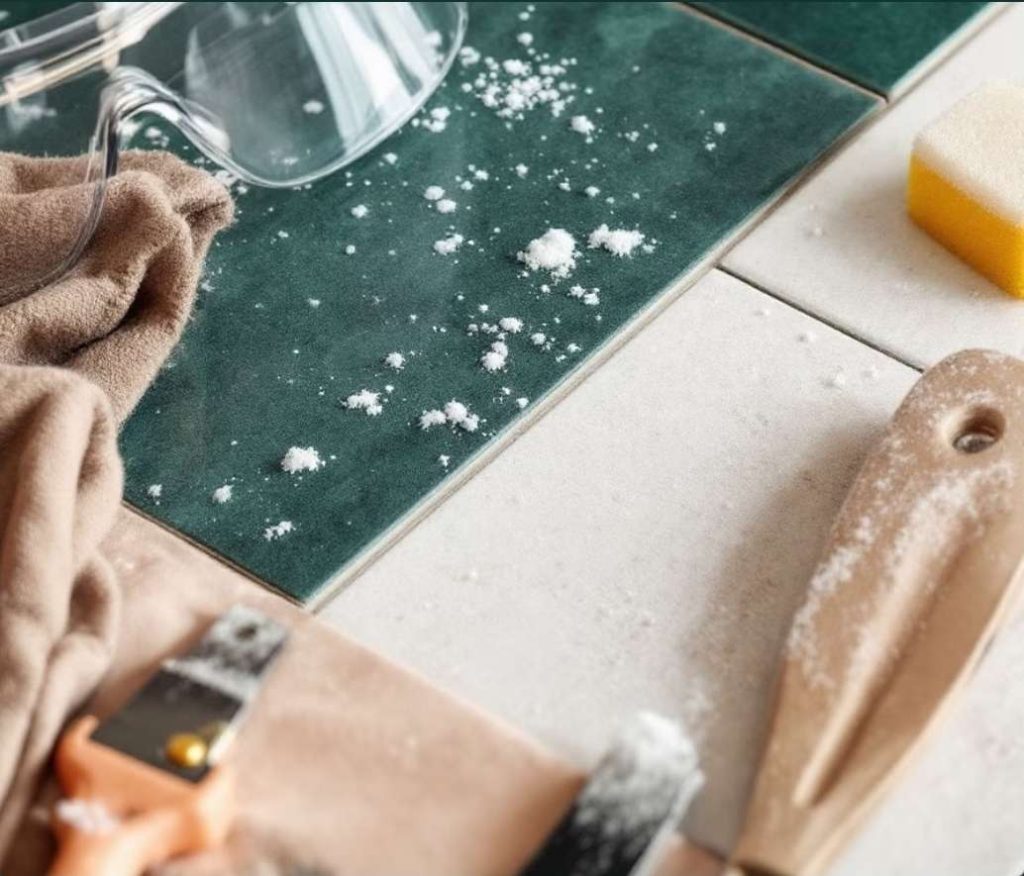
Tools and materials needed for re-grouting tiles
To perform regrouting, you need a set of tools and materials.
In this section, we present a list of essential equipment along with affordable and accessible options:
Essential Tools:
Grout float or trowel for evenly spreading grout between the tiles
Grout removal tool for scraping out old grout
Sponge and soft cloth for wiping off excess grout from tile surfaces
Drill with mixing paddle attachment for thoroughly mixing grout
Materials Needed:
Tile adhesive to repair loose or fallen tiles
Grout sealer to prevent moisture penetration and extend the lifespan of the grout
Affordable and Accessible Options:
If you’re looking for a budget-friendly method for regrouting, you can use pre-mixed grout products available in small packages.
These products do not require mixing with water and are very suitable for small areas.
By preparing these tools and materials, you can regrout tiles properly and cost-effectively.

Preparing the surface for re-sealing
Before starting the regrouting process, it is essential to properly prepare the tile surface.
This step has a significant impact on the final quality and durability of the grout.
Cleaning Out Old Grout
First, the worn and damaged grout must be completely removed.
For this, you can use a grout removal knife or a small electric tool.
Make sure all remnants of the old grout are fully cleared so that the new grout can properly settle.
Using the Right Tools for Removing Old Grout
If the old grout is particularly hard, you can use a drill with a special bit or a small grinder to remove it.
This ensures that the new grout will spread evenly between the tiles.
Thoroughly Drying the Surface Before Regrouting
After removing the old grout, clean any remaining dust using a cloth or vacuum cleaner.
Then, allow the surface to dry completely.
Any moisture trapped under the tiles can prevent the new grout from adhering properly.
Proper surface preparation ensures that the new grout bonds well to the tiles and lasts longer.
How to re-grout tiles (step by step)
After preparing the surface, it’s time to regrout the tiles.
This step must be done carefully and patiently to achieve a professional and lasting result.
Below, the step-by-step grouting process is explained:
Mixing the Grout
First, prepare the grout according to the instructions on the package.
If using powdered grout, mix it with the appropriate amount of water and stir until you get a smooth, thick paste.
It’s best to use a drill mixer to prevent air bubbles from forming in the grout.
If using pre-mixed grout, simply stir it slightly and apply it directly.
Applying the Grout Between the Tiles
Using a rubber float or grout trowel, spread the grout across the tile surface and press it into the joints at an angle.
Make sure all gaps between the tiles are completely filled with no empty spaces.
For best results, apply the grout from multiple directions.
Using a Sponge to Clean Excess Grout
After applying the grout, wait about 10 to 15 minutes until it starts to firm up.
Then, take a damp sponge and gently clean the tile surface.
This removes excess grout and leaves a clean, uniform finish.
Be careful not to press too hard to avoid pulling grout out of the joints.
Drying and Curing Time for the Grout
Depending on the type of grout, drying time may vary between 24 to 48 hours.
During this period, avoid washing or using the grouted surface to allow the grout to fully dry and set.
If needed, after full drying, apply a layer of grout sealer over the joints to increase durability.
How to repair and replace broken or loose tiles
Sometimes, in addition to regrouting, some tiles also need to be replaced.
This issue is more commonly seen with floor tiles, especially in humid environments like bathrooms and kitchens.
Removing Damaged Tiles
If a tile cracks or becomes loose, it must first be completely removed.
To do this, you can gently break the tile using a hammer and chisel, and remove the pieces carefully.
Care must be taken not to damage the surrounding tiles.
How to Reinstall Tiles Using Special Adhesive
After removing the old tile, the underlying surface should be thoroughly cleaned and dried.
Then, apply a thin layer of tile adhesive on the surface and set the new tile in place.
To ensure it is level, you can use a manual level or apply gentle taps.
Grouting and Surface Smoothing
After installing the new tile and allowing the adhesive to dry (usually 24 hours), it’s time to grout the joints.
This step, as explained earlier, requires precision so that the new tile blends seamlessly with the existing surface.
After grouting, the surface should be cleaned and kept dry until it is fully cured.
Tips for maintaining and extending the life of tiles after repair
After completing the grouting and repair steps, proper maintenance can significantly increase the lifespan of tiles and prevent early damage.
Below are some effective strategies for better tile maintenance:
Periodic Cleaning of Grout Lines to Prevent Mold and Stains
Moisture and dirt can cause grout lines to discolor and develop mold.
To avoid this issue, grout lines should be regularly cleaned using mild cleaning solutions or white vinegar.
Using a soft brush and warm water can also help maintain the cleanliness of the grout.
Using Sealers for Extra Protection
One way to increase grout durability is by applying special grout sealers.
These products create a protective layer on the grout, preventing moisture and dirt from penetrating.
To maintain the quality of the grout, it is recommended to apply a new layer of sealer every 6 months.
Ways to Prevent Common Tile Damages
In areas where heavy objects might fall, use protective floor covers or rugs.
To avoid abrasion, use mild, non-acidic cleaners for cleaning the tiles.
If early signs of grout deterioration are observed, immediate repair actions should be taken to prevent more serious damage.
By following these tips, early damage to tiles can be prevented, significantly increasing their lifespan.
Common mistakes in grouting and repairing tiles
In tile grouting and repairs, certain mistakes can reduce the durability and quality of the work.
Being aware of these errors and avoiding them can lead to a better and longer-lasting result.
Using Inappropriate Grout and Its Impact on Grout Durability
Choosing the wrong grout can result in cracking, water absorption, and reduced durability.
Some people opt for cheap or low-quality grouts that are not resistant to moisture and temperature changes.
High-quality, waterproof grouts are the best choice for grouting.
Not Cleaning the Surface Before Grouting and the Problems It Causes
The presence of dust, old grout residues, or grease on the tiles prevents proper adhesion of the new grout.
This can lead to cracking and flaking of the grout after a short period.
Before grouting, all joints and tile surfaces should be thoroughly cleaned and dried.
Not Observing Proper Timing for Grout Drying
Some people start using or wetting the surface immediately after grouting.
This prevents the grout from drying properly and gaining the necessary strength.
It is recommended to avoid water contact for at least 24 hours after grouting, and if possible, to use protective sealers afterward.
Creative ways to beautify tile joints
In addition to maintaining strength and preventing moisture penetration, grouting can also enhance the beauty of a space.
With creative methods, you can give a unique look to your tiles.
Using Special Colors in Grout for a Distinctive Appearance
Instead of using standard white or gray grout, you can opt for various colors like black, gold, or even metallic shades.
This choice can give a modern and unique touch to the space.
Combining Multiple Colors to Create Artistic Designs Between Tiles
An interesting method for interior design is to use colored grouts in combination.
For example, in checkerboard tiles, you can apply two-tone grouting to create a beautiful contrast.
Using Lighting to Highlight the New Grouting
In spaces like bathrooms and kitchens, hidden lighting can be installed near the tile grout lines.
This technique makes the grout glow at night, creating a modern and stylish atmosphere.
Comparison of manual strapping and the use of modern tools
Grouting tiles can be done manually or with the use of modern tools.
Each method has its own advantages and disadvantages, which will be discussed below.
Introduction of New Devices for Faster and More Accurate Grouting
Today, modern tools such as automatic grouting machines and specialized trowels are available on the market that make the process faster and cleaner.
These tools distribute the grout evenly in the joints and prevent the formation of air bubbles.
Are Professional Tools Suitable for Ordinary People?
Some of these devices have high prices and are mainly recommended for professional use.
However, there are also simpler and cheaper models available that non-professionals can use for small home projects.
Costs and Benefits of Using Modern Equipment
Using modern tools reduces the time it takes to complete the work and increases accuracy, but their initial cost may not be economically justified for non-professionals.
On the other hand, the manual method is cheaper, but it requires more skill and patience.
How to prevent the straps from changing color and getting dirty?
Tile grouting may change color or accumulate dirt and contamination over time.
With a few simple methods, this problem can be prevented.
Nano and Waterproof Materials for Increasing Grout Durability
Today, nano and waterproof grouts are available in the market that minimize moisture absorption.
These materials increase the lifespan of the grout and prevent it from changing color.
Effective and Appropriate Cleaning Methods for Different Types of Grout
To maintain the cleanliness of the grout, mild cleaners like white vinegar or baking soda should be used regularly.
Using soft brushes can remove contaminants without damaging the grout.
Using Clear Sealers to Prevent Contamination Absorption
After grouting, special sealers can be applied to create a protective layer over the grout.
These sealers prevent the penetration of water and dirt, enhancing the durability and aesthetic appeal of the grout.
The best solutions for grouting floor tiles in high-traffic spaces
Floor tiles in high-traffic areas like kitchens, bathrooms, and public halls require more durable and resilient grouting.
Here are some important methods for increasing the longevity of grout in these spaces:
Materials More Resistant to Pressure and Wear
In high-traffic areas, epoxy or high-quality cement-based grouts are the best options.
These grouts are more resistant to pressure, impact, and cleaning products, offering a longer lifespan.
Reinforced Grouting Methods for Increased Durability
When grouting, using reinforced grout and applying enough pressure to fully fill the joints can increase the grout’s durability.
Additionally, using protective sealers is recommended.
Proper Maintenance and Cleaning in High-Traffic Environments
Regular cleaning with non-acidic cleaners and avoiding the use of harsh brushes can prevent wear and discoloration of the grout.
Also, if minor cracks are noticed, it’s best to repair them immediately to prevent further damage.

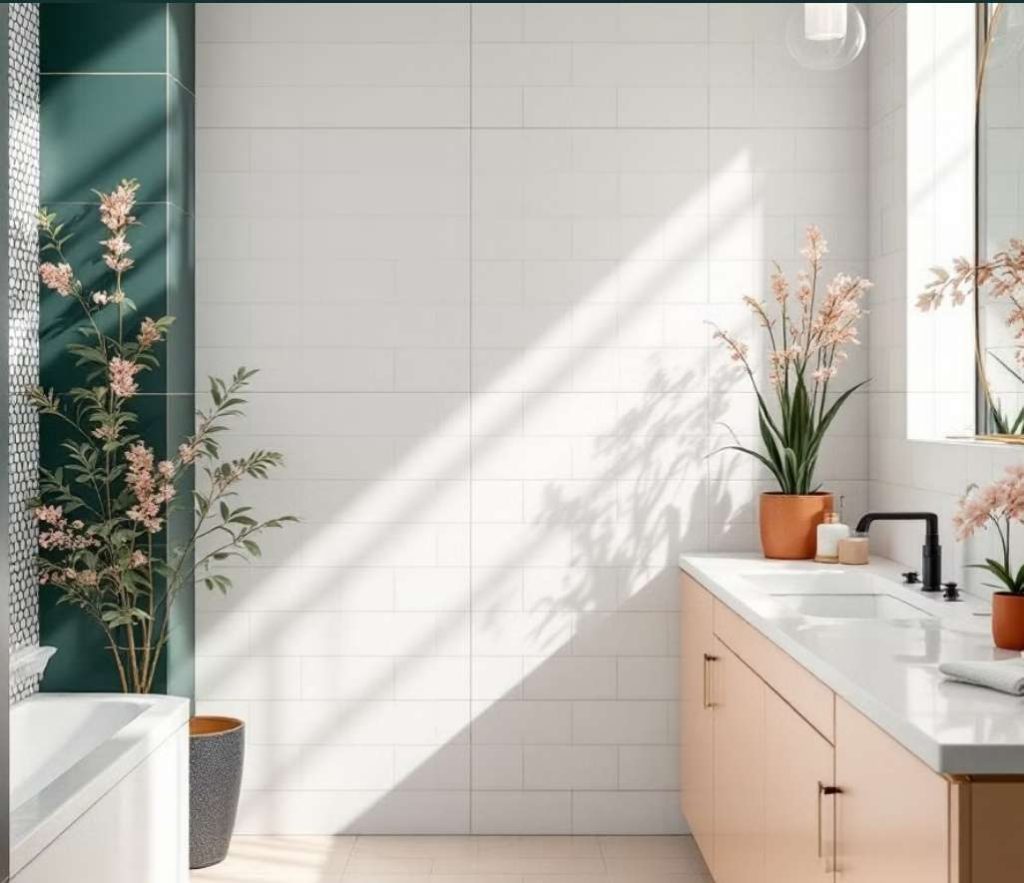
The impact of proper fencing on the value and beauty of the property
A proper and clean grouting not only increases the durability of tiles but also has a significant impact on the beauty and value of the property.
The Role of Clean and Neat Grouting in Enhancing Visual Appeal
Neat and clean grouting makes the tiles look fresh and stylish. Dirty tiles or those with cracked grout lines can make the space appear unattractive.
Impact on Tile Longevity and Prevention of Extra Costs
Proper grouting prevents water from seeping underneath the tiles, preventing damage. This reduces the future costs of repairs and tile replacements.
Increasing Property Value When Selling or Renting
Properties with well-maintained tiles and clean grouting appear more attractive to buyers and tenants. A simple grouting repair can positively affect the overall value of the property.
Tips for grouting bathroom and toilet tiles
Bathrooms and restrooms are spaces that, due to high humidity, require resistant and high-quality grouting. The use of inappropriate materials or incorrect application methods can lead to mold growth, water infiltration, and reduced tile lifespan. In this section, important tips for proper grouting in these spaces are discussed.
Choosing Water and Steam Resistant Mortars
Regular mortars are not resistant to moisture and gradually undergo color changes, cracking, and loosening over time. Using water-resistant mortars such as epoxy mortar or specialized cement grout is an ideal option for bathrooms and restrooms. These materials are resistant to water and steam, preventing moisture from seeping beneath the tiles.
Methods to Prevent Mold and Fungi Growth
High humidity promotes mold and fungi growth between tile joints. To prevent this issue, antimicrobial and anti-mold grouting materials can be used. Additionally, proper ventilation in the bathroom and drying the walls after each use helps reduce humidity and prevents mold formation.
Quickly Repairing Damaged Joints to Prevent Serious Damage
If cracks, discoloration, or wear are observed in the joints, immediate repair is necessary. Water infiltration into damaged joints can gradually cause tiles to detach and even lead to damage to the walls and floor structure. Re-grouting when necessary is the best solution to maintain the health and beauty of the bathroom tiles.
Conclusion
Grouting and repairing old tiles not only preserves the aesthetic appeal but also plays a crucial role in enhancing durability and preventing structural damage. By recognizing signs of deterioration, choosing the right materials, following proper execution methods, and ensuring appropriate maintenance, tile lifespan can be extended, and additional costs can be avoided. Proper grouting in bathrooms, restrooms, and high-traffic areas helps prevent moisture infiltration, contributing to the cleanliness and hygiene of the environment. Adhering to these tips ensures that your home’s tiles remain healthy, clean, and beautiful.