

Adhesive flooring; a quick and affordable choice
Have you ever thought about changing your home’s flooring without hiring a mason or a professional?
You no longer need to take on expensive or heavy renovation projects. Adhesive flooring is exactly the solution that gives your home a fresh and clean look — and in just a few hours!
In recent years, these floorings have become one of the most popular options for quick interior makeovers, because:
They’re easy to install
They’re affordable
They don’t require special skills
In this article, you’ll learn step-by-step how to install adhesive flooring all by yourself, with no need for outside help. From choosing the right material to proper installation and final cleaning, everything is fully covered.
Why adhesive flooring? Advantages and differences from traditional methods
When it comes to changing your home’s flooring, you’ve got plenty of options — ceramic, laminate, carpet, and more. But adhesive flooring stands out for one big reason: you can install it yourself with minimal tools.
Here’s why adhesive flooring might be your best choice:
Super easy to install
Just peel off the backing and stick it to the floor — no glue, no cement, no mess.
Low cost
It’s budget-friendly both in material and labor — because you are the labor.Wide variety of styles
Wood-look? Marble effect? You name it — there’s a style for every taste.Works on most surfaces
Install it over ceramic, smooth cement, old flooring — as long as it’s clean and flat.Easy to replace
Want a new design later? Just peel off the old and apply the new.Moisture-resistant options available
Some models are made for kitchens and bathrooms, and handle humidity well.
Compared to traditional options like tiles or laminate, adhesive flooring is faster, cleaner, and hassle-free. Why wait months for renovations when you can transform your space in a few hours?
Would you like this in a shorter version for a social media post?

Can you install flooring without any special skills? Yes, you can!
A common question many people ask is: “Can I really install flooring myself?”
The short answer: Absolutely, yes.
Adhesive flooring doesn’t need professional experience, fancy tools, or any masonry knowledge. All you need is to follow the steps carefully and pay attention to detail.
Think of it like putting a sticker on your laptop — just on a bigger scale. If you’ve ever assembled a piece of IKEA furniture, then you’re more than capable of doing this too. Why?
The pieces come pre-cut
The adhesive is pre-applied
No special tools are needed
All it takes is a bit of patience and focus. In return, you’ll get a clean, modern floor that looks like it was installed by a pro — and everyone will ask where you had it done.
Do you want this turned into a social media caption or infographic text?
Tools and equipment needed to install adhesive flooring at home
One of the best features of adhesive flooring is that you don’t need any special or expensive tools to install it. Just a few simple items found in most homes are enough to get started.
Tools You Need for Installing Adhesive Flooring:
Tape Measure: For accurate measurement of the space
Pencil or Pen: To mark the flooring before cutting
Sharp Cutter or Utility Knife: For clean and easy cuts
Long Ruler or Set Square: To draw straight and precise lines
Roller (or something heavy like a thick book): To press and fix the flooring in place after installation
Dry and Clean Cloth: To wipe dust off the surface before sticking the flooring
Strong Adhesive (if needed): Some flooring types have weak adhesive backs; it’s good to have strong glue just in case
Before you start installing, keep all these tools within reach. You definitely don’t want to be hunting for a cutter or cloth in the middle of the job!
Substrate preparation; the first and most important step for successful installation
Have you ever heard the saying, “Half the success of any project is in the preparation”?
That’s exactly true when it comes to installing adhesive flooring. If the surface underneath isn’t well-prepared, no flooring will stay in place properly.
Here’s what you need to do in this stage:
Thorough Cleaning
No dust, grease, or stains should be left on the surface.
First, vacuum the area, then wipe it down with a damp cloth.
Wait until it’s completely dry.
Leveling the Surface
Bumps or dips = Enemy number one for adhesive flooring!
If your surface is uneven, use filler, leveling compound, or sandpaper to make it smooth.
Complete Dryness
No moisture should remain.
Even the smallest bit of dampness can weaken the glue and cause the flooring to bubble.
Remove All Obstacles
Nails, old glue, carpet tape, or anything in the way must be removed.
Important Tip:
If you’re installing over old tiles or ceramic, just make sure they’re clean and even.
There’s no need to break or remove them!
A guide to choosing the right type of adhesive flooring for different spaces in the home
Adhesive flooring comes in different types, but not all of them are suitable for every space. If you choose the wrong one, you’ll regret it later! So let me guide you clearly:
Moist Areas (like kitchens or bathrooms)
Here, you need to go for waterproof models.
These are usually made with a moisture-resistant protective layer.
Look for phrases like “100% waterproof” or “suitable for wet areas” on the packaging.
Living Rooms or Bedrooms
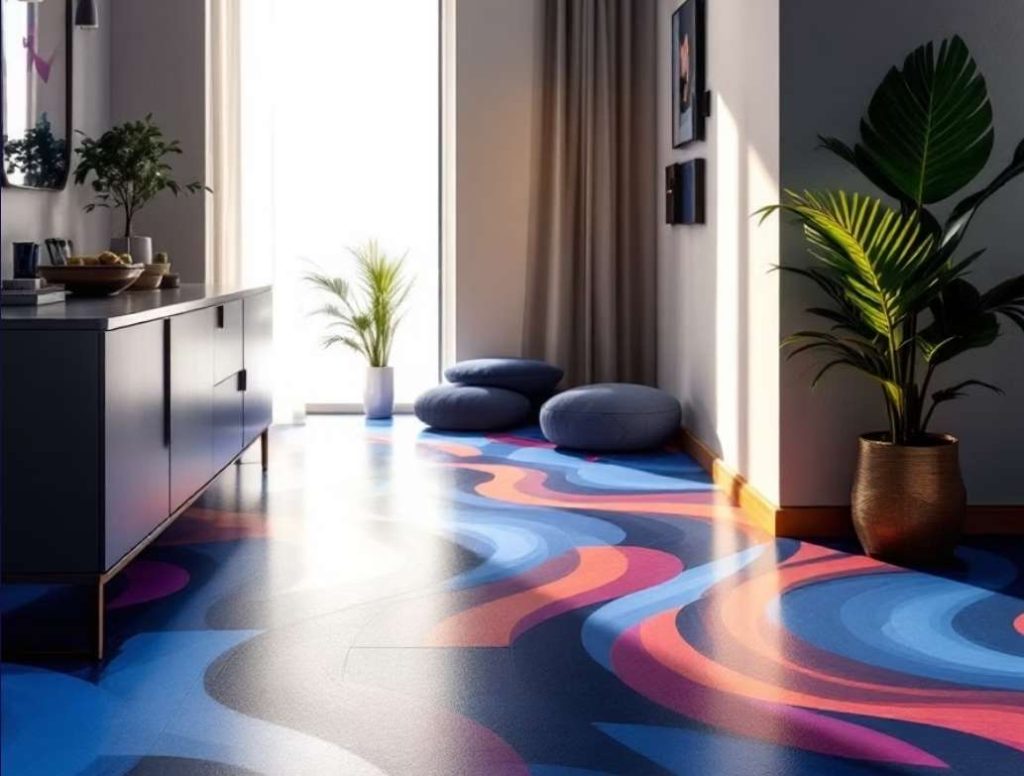
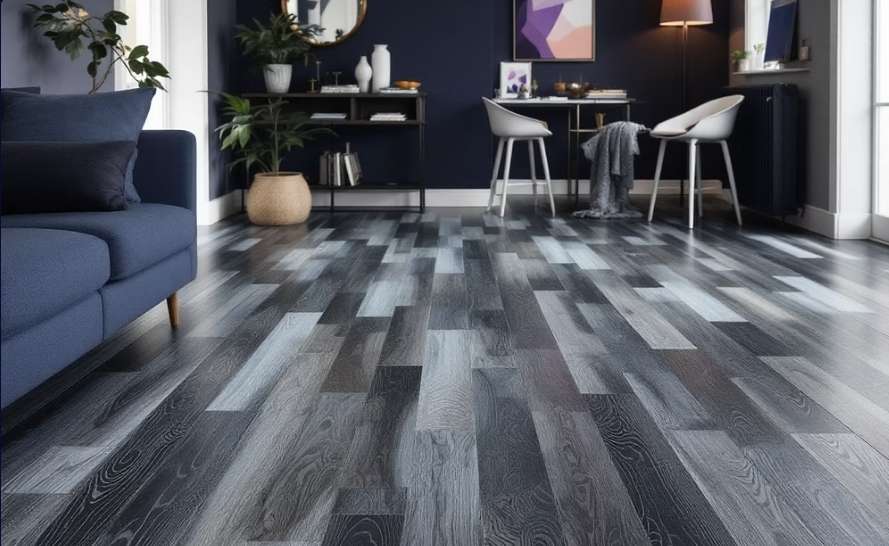
In these areas, you’re mostly looking for beauty and comfort underfoot.
Wood- or stone-look designs with greater thickness give a more elegant and cozy feel to the room.
High-Traffic Areas (like hallways or entryways)
Here, focus on high durability.
Choose flooring with a thicker protective layer and higher friction.
The packaging usually mentions whether it’s suitable for heavy-use areas.
Important Tip on Color and Design
Light colors make the space look larger and brighter.
Dark colors feel more luxurious, but may show stains and dust more easily.
Wood patterns usually go well with most décor styles.
So before buying, pay attention not just to looks, but also to function, material, and thickness.
Key points before starting installation: from measuring to planning the layout
Before sticking the first flooring piece on the ground, take a deep breath and take this stage seriously.
Proper planning will make your final result much more beautiful.
Precise Measurements
Measure the length and width of each room carefully and calculate how many tiles you need.
Always buy about 10% extra in case of mistakes or unexpected cuts.
Visual Layout of the Flooring
Before gluing, lay out a few pieces on the floor to see which direction looks best.
Usually, it’s better to start from the center of the room or from the nearest straight wall.
Pre-cutting
If you know you’ll need to cut pieces near walls or corners, pre-cut them and keep them ready.
That way, you won’t get confused in the middle of installation.
Maintaining Precise Gaps
Each piece should fit snugly, but not too tightly.
A tiny gap allows for natural expansion and contraction of the material.
Installing without a plan is like driving without GPS.
So before you begin, organize your thoughts with a simple mental layout or sketch—then confidently start your installation.
Step-by-step instructions for installing adhesive flooring; from gluing to fixing
Here’s the translated and bolded version of your text:
Alright… now it’s time to get to work!
Here, we’ll go step by step to ensure a proper, professional, and mistake-free installation:
Step 1: Start from the Right Point
The best place to begin is from the nearest straight and visible wall in the room.
Some people prefer to start from the center of the room to create a symmetrical layout. It depends on the room’s design and personal preference.
Step 2: Remove the Backing Paper from the Flooring
Each flooring piece has a paper backing. Carefully peel it off.
Be careful not to touch the adhesive part with your hands too much, as it may weaken the adhesive.
Step 3: Place the Flooring Piece Precisely on the Ground
Place the flooring piece carefully on the marked spot.
It’s crucial that it’s applied smoothly and accurately because once it’s fixed, removing and repositioning it is tough.
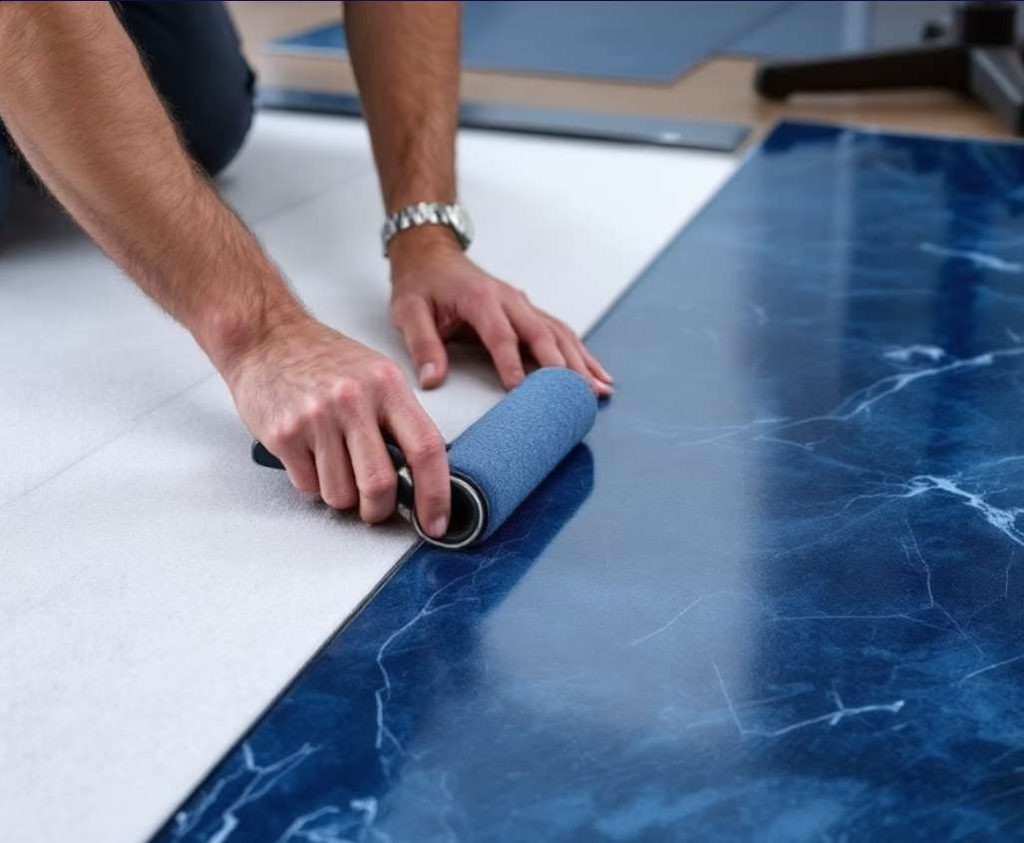
Step 4: Press with a Roller or Heavy Book
After attaching each piece, press it down with a special roller or even a heavy book.
This will ensure that the adhesive fully bonds to the floor and prevents air bubbles from forming beneath it.
Step 5: Continue with the Rows
As you move forward, align the pieces next to each other.
No gaps should remain between the pieces. If you notice a gap, it’s better to remove that piece and reinstall it with more care.
How to cut and fit flooring in corners and edges
Here’s the translated and bolded version of your new text:
This is the tricky part where many people get stuck. But if you know the right method, cutting the flooring pieces for corners and edges isn’t hard at all.
- For corners or under cabinets:
Place the desired piece on the floor near the wall.
Mark the exact cutting area with a pencil.
Carefully cut along the marked line using a sharp cutter and ruler.
Fit the piece in place and test it. If adjustments are needed, gradually trim it.
For doorways or pipes:
Measure the entire surrounding area with a tape measure.
Draw the design on the back of the flooring and then cut.
If the flooring needs to be cut in a circular or curved shape, use strong scissors.
Important Tip:
Always cut from the back of the flooring (i.e., the adhesive side should not face the cutter), as this prevents damage to the top surface.

Common mistakes in installing adhesive flooring and ways to prevent them
1. Installing without cleaning first
Dirty surface = weak adhesion.
Before starting installation, always clean the surface thoroughly.
2. Not pressing the pieces properly
If you don’t apply pressure after installation, the flooring won’t stick well to the ground.
The result? Bubbles, bumps, and loosening.
3. Rushing the layout
Moving forward without a mental plan can cause the rows to get crooked or leave you short on flooring at the end of the room.
Always plan the layout first before final installation.
4. Cutting without measuring
Cutting without accurate measurements not only ruins the flooring, but it also messes up the final appearance.
5. Using weak adhesive
If your flooring model has a weak adhesive and you didn’t reinforce it, it will peel off from the ground after some time.
Always have strong adhesive on hand.
Professional solutions for a clean and flawless look
1. Use Edge Strips
In areas like next to walls, doorways, or where the flooring ends, use a special edge strip to keep the edges neat and tidy.
2. Refix after a few hours
After finishing the job, go over it again with a roller from start to finish and press on all areas.
3. Use silicone in corners
In moist areas, like the kitchen or bathroom, seal the corners with clear silicone to prevent moisture from seeping in.
4. Choose the right layout direction
If light enters the room from one direction, lay the flooring so the pattern aligns with the light. This makes the space appear brighter and more cohesive.

Tips for caring for and extending the life of adhesive flooring
1. Regular but Proper Cleaning
Sweep the floor daily or at least a few times a week to prevent dust from causing scratches over time.
Use a damp cloth or mop, but never a soaking wet mop, as excess moisture can weaken the adhesive.
Avoid strong cleaning products. Use a mild cleaner (like a few drops of baby shampoo or a non-acidic cleaner) mixed with water to clean the floor.
2. Use Furniture Pads
Metal furniture legs can scratch the surface of the floor. Always use felt or rubber pads under furniture legs.
3. Prevent Moisture at the Edges
In moist areas, especially around sinks or in bathrooms, ensure water doesn’t seep underneath the flooring.
Seal the edges with silicone caulk if necessary to prevent water infiltration.
4. Avoid High Heels or Rough Shoes
High heels with sharp tips or shoes with rough soles can easily scratch the floor.
It’s fine for special occasions, but daily use should avoid these types of shoes to prevent damage.
5. Prevent Direct Sunlight
Prolonged direct sunlight can fade the color of the flooring.
If you have windows with strong sunlight, consider using curtains or light filters to protect the flooring.
Conclusion: Is adhesive flooring really a good choice?
So, after all these tips and steps, let’s take a quick overview and answer this important question:
“Is adhesive flooring a good choice for home decoration?”
Reasons to Say Yes:
Easy and Fast Installation Without the Need for a Specialist
Very Cost-Effective Compared to Parquet, Laminate, or Ceramic
Wide Variety in Designs, Colors, and Materials
Perfect for Renters as It’s Removable and Repositionable
Can Be Used in All Areas of the Home
No Special Tools or Demolition Required
Limitations:
Sensitive to Excessive Water and Constant Moisture (unless using waterproof models)
If the Adhesive Is Weak, the Edges Might Lift Over Time
Compared to Professional Flooring, It Has Lower Durability Against Impact and Pressure
Conclusion?
If you’re looking for a simple, fast, low-cost, and stylish way to change your home’s decor, adhesive flooring is one of the best options.
Just make sure to install it carefully and thoughtfully following the guidelines provided, so you can enjoy both its appearance and durability for years to come!

You can completely transform the floor in your living room, kitchen, bedroom, or even bathroom in just an hour or two and for very little money.
Just review this article, gather the necessary materials, and get to work with confidence.
Are you ready to make a real difference in your home? Now is the time!