
Why do some grout lines become black or dirty after a while? Causes and solutions.
Blackening or soiling of tile grout lines is one of the common problems seen in bathrooms, toilets, kitchens, and even some outdoor spaces. This issue not only makes the tiling look untidy, but it can also indicate moisture penetration, the growth of biological contaminants, or improper grouting execution. Moreover, if we ignore it, it can lead to gradual deterioration of the underlying layers.
In this article, we will examine why grout lines darken, what factors cause this problem, how we can prevent it, and if the grout has already turned black, exactly what steps we should take to fix the problem properly.
What grouting is and why its condition matters
The most important causes of black or dirty grout lines
Methods for removing blackening and soiling from grout and preventing its return
Common mistakes when cleaning and repairing grout and how to avoid them
What is grouting and why does its condition matter?
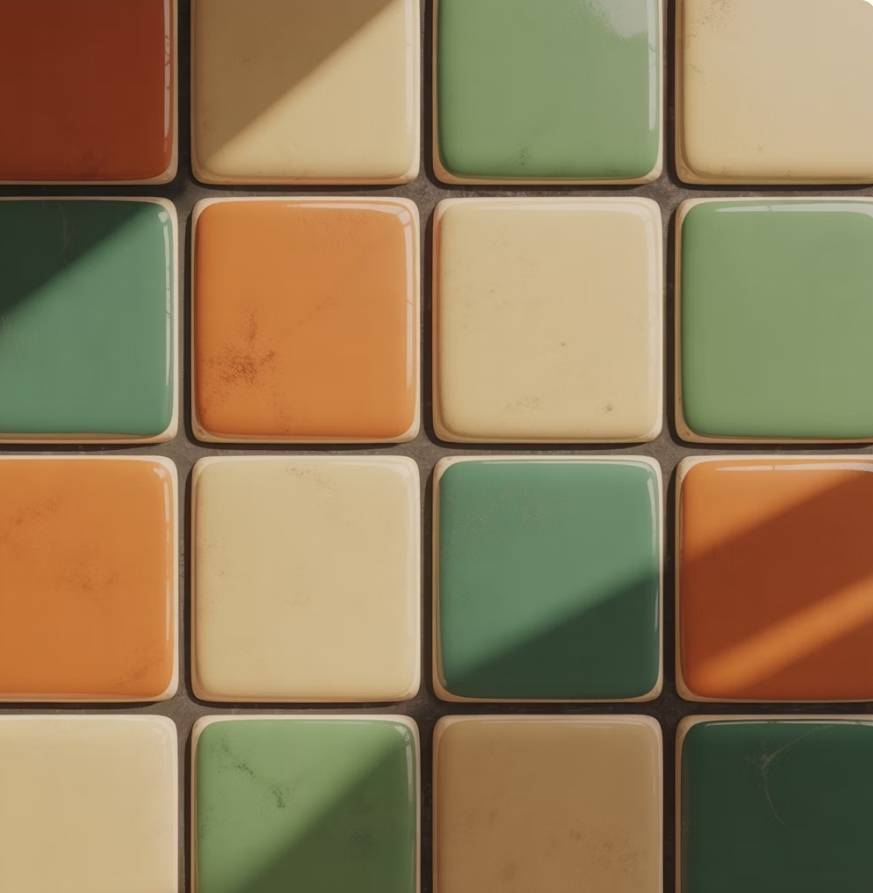
Grouting is the material that fills the gaps between tiles or ceramics, but its role is not merely to fill a simple space. In fact, grouting is one of the important components of the tiling system. If we do not choose or execute it correctly, even the best tiles and adhesives cannot maintain their desired durability.
The first function of grouting is to prevent water and moisture penetration under the tiles.
Tiles usually have a relatively impermeable surface, but the gap between them is a point where water can easily pass through. If the grout does not have good quality or deteriorates over time, water penetrates under the tile, and this issue can cause tile loosening, unpleasant odors, mold growth, and even substrate damage.
Another important role of grouting is maintaining the integrity and durability of the tiled surface.
Tiles expand and contract slightly due to temperature changes, humidity, or minor pressures. Proper grouting absorbs some of these stresses and prevents the tiles from cracking or loosening. If the grout is weak or cracks, these pressures transfer directly to the tile edges and can eventually cause chipping or breakage.
Another point that usually receives less attention is the impact of grouting on hygiene and cleanliness. Grout has a rougher surface than tile, and if its quality is poor or not properly compacted, it absorbs more dirt and moisture. That is why the first place that looks dirty or dark in a bathroom or kitchen is usually the grout lines, not the tiles themselves.
From an aesthetic perspective, grouting is also very important.
Even if the tiles are completely clean and intact, dark or stained grout can make the entire space look old and dirty. Therefore, in professional projects, choosing the type and color of grout is almost as important as choosing the tiles.
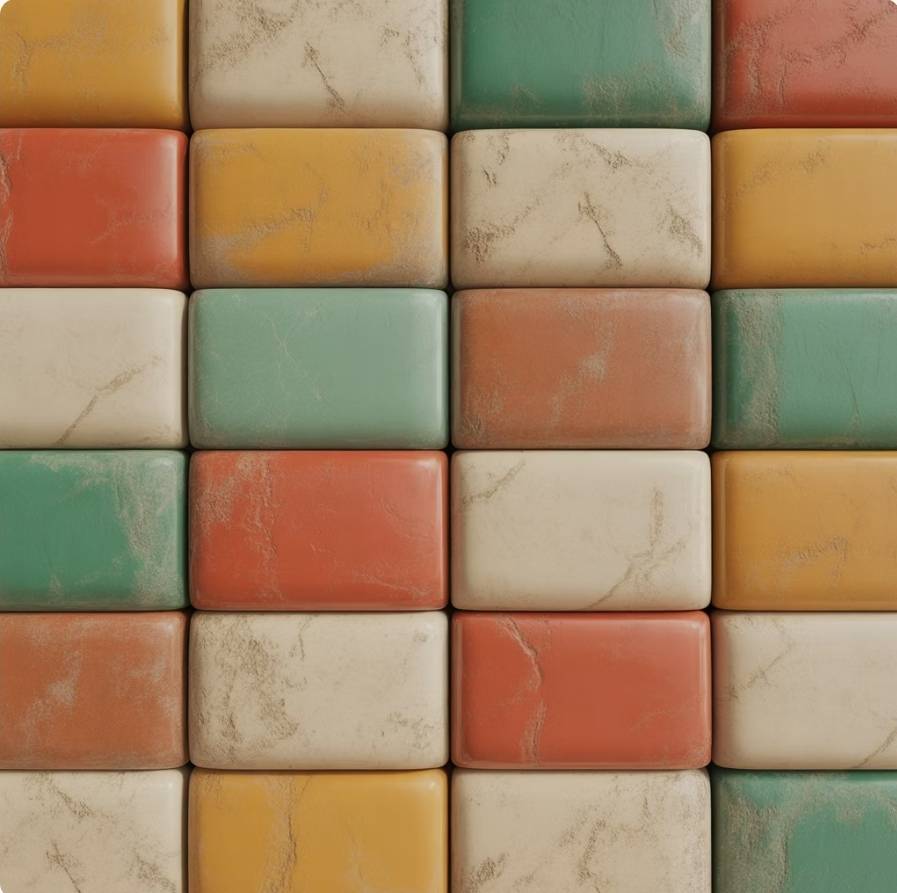
An important point to keep in mind is that grout has a more porous texture than tile.
This characteristic means that if its material is not suitable or we do not protect it, it will gradually absorb water, grease, detergents, and environmental contaminants. This process is usually gradual; that is, the grout looks completely clean at first, but after a few months or a year, it slowly changes color.
For this reason, when grout turns black or dirty, this is usually not just a cosmetic issue. Rather, it is a sign that either moisture is penetrating, dirt has accumulated deep within the grout, or the quality of execution and materials was not appropriate. Understanding this point helps us analyze the problem correctly and pursue a principled solution, rather than temporarily hiding it with surface cleaning.
The most important causes of black or dirty grout lines
Blackening of grout is usually not limited to a single reason. In most cases, a combination of several factors causes this problem. Understanding these causes is important because until we identify the main reason, even if we clean or replace the grout, the problem will return.
One of the main causes is continuous moisture penetration.
In spaces such as bathrooms, toilets, and areas around sinks, grout is almost constantly exposed to water and steam. If the grout material is ordinary or we did not compact it properly after application, water gradually enters its tiny pores. This moisture remains deep within the grout and creates a suitable environment for mold and contaminant growth. As a result, the grout color gradually darkens.
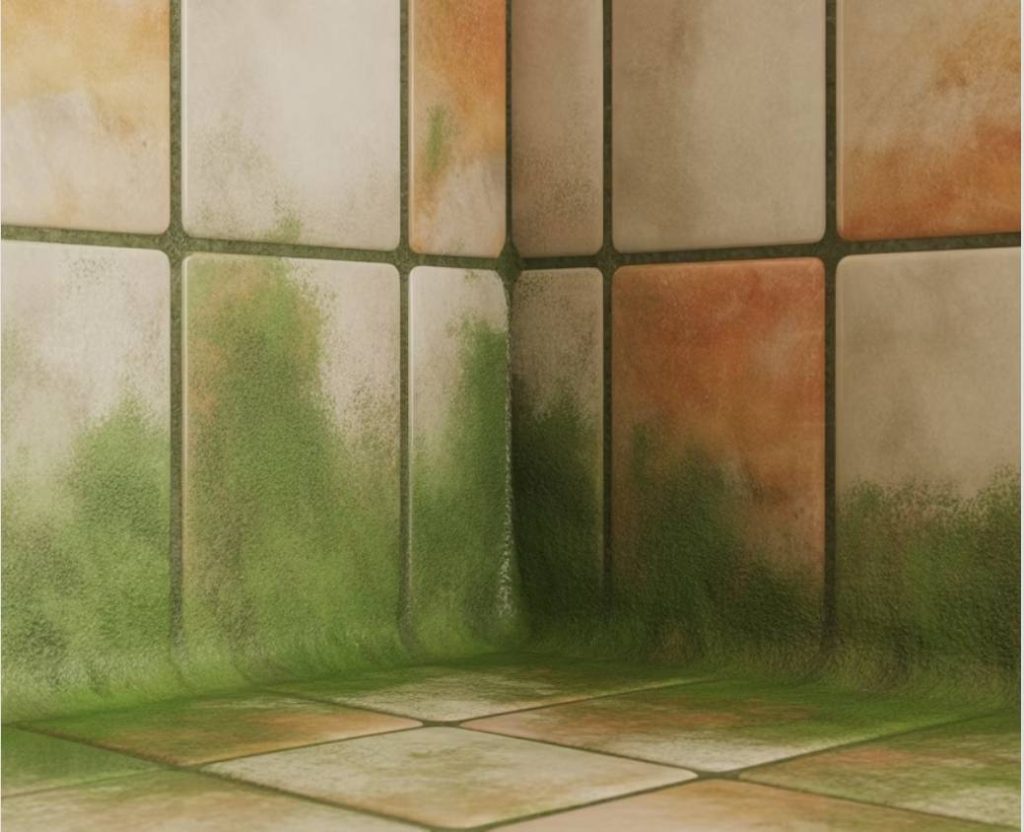
Another important factor is mold and mildew growth.
Molds typically grow in humid, warm, and poorly ventilated environments. Due to its porous texture, grout retains moisture more than the tile surface does. That is why the first signs of mold usually appear in the grout lines. This darkening typically appears as spotty stains or dark lines and becomes more widespread over time.
Another common reason is absorption of grease and dirt.
In kitchens, oil vapor and grease particles exist in the air, and these particles gradually settle on surfaces. The tile surface usually cleans easily, but grout, due to its roughness and porosity, absorbs these contaminants. Consequently, the grout lines gradually turn dark gray or brown.
Using poor-quality or unsuitable grout materials also plays a significant role. Some grouts have high water absorption or low resistance to detergents and dirt. These materials change color faster and wear out sooner, even under normal conditions.
Another cause is improper grout application.
If we do not compact the grout well during application or the thickness is not uniform, tiny pores and cavities remain within it. These empty spaces become places where water and dirt accumulate, accelerating grout discoloration. Additionally, if we did not clean the joint surfaces thoroughly before grouting, remaining dust and mortar deep in the joints can gradually cause darkening.
Poor space ventilation is another factor that people often overlook. In environments where moisture does not exit quickly after bathing or washing, the grout stays wet for longer periods. This persistent moisture creates conditions for mold growth and discoloration.
Another factor that receives less attention is improper use of strong cleaning chemicals.
Some acidic or highly alkaline cleaners gradually weaken the grout structure and make its surface rougher and more porous. As a result, the grout lines absorb dirt faster and become darker.
In some cases, water penetration from behind the tile causes this problem. If we did not perform substrate preparation or waterproofing correctly, moisture moves from behind the tile toward the grout and causes discoloration from within. In this situation, even if we clean the grout surface, the darkness returns because the moisture source still exists.
In summary, blackening of grout usually results from one of these factors or a combination of several:
Continuous moisture, mold and mildew, grease and dirt absorption, low material quality, improper execution, poor ventilation, and water penetration from underneath.
Understanding these causes is the first step. The next step is knowing exactly what to do for each one, which we will explain completely and practically in the next section.
Methods for removing blackening and soiling from grout and preventing its return
After understanding the causes of grout darkening, it is time for practical solutions. You should know that each method must be done precisely and step by step to achieve a lasting result and prevent the problem from returning. This section explains what you need to do, what tools and materials you require, and how to make the effect long-lasting.
Cleaning the grout surface of stains and dirt
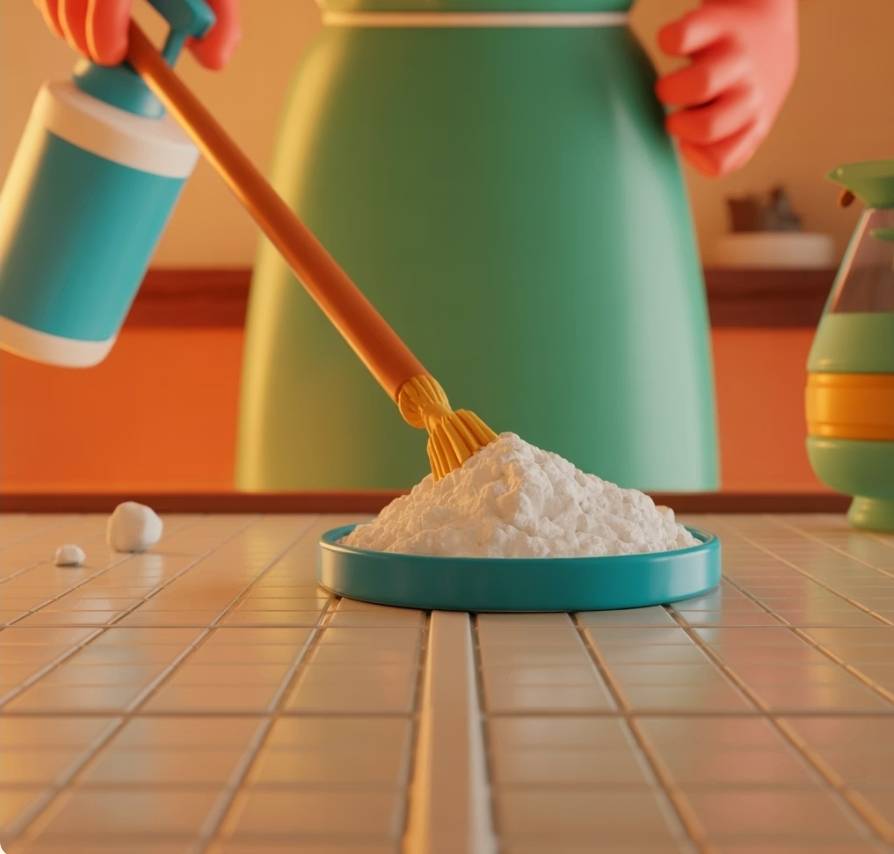
The first step is to thoroughly clean the grout lines. For this, you can use a mixture of warm water and mild detergent. If the stains are old or severe, you should use special grout cleaners available in powder or gel form. These solutions help penetrate deep into the grout pores and remove stains caused by mold, mildew, and grease.
Tools you need:
Soft sponge or grout brush (not wire brushes, which scratch the surface)
Water bucket and mild cleaner
Rubber gloves to protect your skin
Important note: Always test a small, inconspicuous area first to ensure the cleaning materials do not damage the grout color or texture.
Using anti-fungal and anti-mold products
After cleaning, using anti-fungal and anti-mold solutions is essential. These products stop the regrowth of mold and mildew and prevent the grout from turning black again. Apply the solution to the grout lines according to the instructions and let it dry completely.
Tools needed:
Applicator gun or sprayer for even distribution
Gloves and mask to protect skin and breathing
Repairing or replacing damaged grout
If the grout has cracked or weakened, cleaning alone is not enough. You must repair or replace the grout lines. To do this:
Remove the old grout using a special tool (such as a grout saw or stiff brush).
Thoroughly clean the joint surface and remove any remaining dust or mortar.
Use high-quality, moisture-resistant, stain-resistant grout material.
Fill the joint evenly and smooth the excess with a trowel or sponge.
Let it dry completely, then clean the surface with a dry cloth.
Tools needed:
Grout saw or removal tool
Moisture-resistant grout material
Sponge and clean cloth
Applying a protective sealer for prevention
To ensure that newly cleaned or fresh grout does not turn black again, you should apply a waterproof and stain-resistant protective coating over it. This coating reduces water, grease, and dust penetration and prevents dirt from absorbing deep into the grout.
Application method:
Apply the sealer to the grout lines according to the manufacturer’s instructions.
Let it dry, and apply a second layer if necessary.
After drying, wipe the tile surface with a soft cloth to remove any excess sealer residue.
Tools needed:
Small brush or applicator
Clean, dry cloth
Improving ventilation and reducing environmental moisture
One of the most important preventive measures is to keep the environment where the grout is located dry and well-ventilated. In bathrooms and toilets, using an exhaust fan and leaving the door open after bathing helps moisture exit faster and reduces mold growth. In kitchens, proper ventilation and range hoods reduce steam and grease.
Key point: Even the best materials and sealers will not have a long-lasting effect without moisture control and proper ventilation.
Additional tips for maintaining grout
Regular cleaning: Clean the tile and grout surfaces at least once a week with a mild cleaner.
Avoid highly acidic or alkaline cleaners: These products increase grout porosity and permeability.
Periodic inspection: Check the grout lines every few months and quickly repair any cracks or damage.
Common mistakes when cleaning and repairing grout and how to avoid them
In many homes, grout becomes black or dirty after a while, and often the reason is mistakes that occur during cleaning or repair. Recognizing these mistakes and knowing how to prevent them can keep your grout clean and healthy for years. In this section, we address the most common problems and how to avoid them.
Using inappropriate cleaners
One of the most common mistakes is using overly strong, acidic, or alkaline cleaners. These materials cause the grout mortar to crack or become more porous, allowing stains to penetrate deeper into the grout faster.
Solution:
Always use mild cleaners specifically designed for tile and grout.
If stains are old, use special anti-mold and anti-fungal solutions.
Test on a small area first to ensure the cleaner does not damage the grout color or texture.
Not drying the environment completely after cleaning
Many people think that washing the grout solves the problem. However, remaining moisture causes mold and mildew to grow back.
Solution:
After washing, dry the environment and ensure proper ventilation.
In bathrooms, use an exhaust fan or leave the door open to help moisture escape faster.
In kitchens, proper ventilation and range hoods reduce steam and grease.
Not repairing damaged grout before applying a sealer
Sometimes people apply a protective sealer over the grout, but if the grout is cracked or weakened, the sealer will not last long, and the darkness will return.
Solution:
First, remove any cracked or weakened grout completely and fill the joints with fresh grout.
Only after the grout dries and cures should you apply a stain-resistant and moisture-proof protective sealer.
Using inappropriate tools
Using a wire brush or harsh tools causes the grout to crack and develop pores, allowing stains to penetrate faster.
Solution:
Use a soft sponge or a specialized grout brush.
Use trowels or scrapers for removing old grout, but use soft tools for surface cleaning.
Ignoring periodic inspection
If you do not inspect the grout lines, cracks and stains will go undetected, making repair work more difficult and expensive.
Solution:
Inspect the condition of the grout lines every three to six months.
If you see cracks or discoloration, take action to repair them quickly.
Use waterproof materials and periodic protective sealers to protect the grout in advance.
Final summary
Blackening and soiling of grout is a problem that most homes face. However, by following a few simple tips, we can significantly reduce this issue. The main causes of grout darkening include moisture penetration, mold and mildew growth, choosing unsuitable grout material, and mistakes in cleaning or repair.
The main solutions include:
Using grout material that is resistant to moisture and stains
Repairing damaged grout promptly before applying a sealer
Using appropriate solutions and tools for cleaning
Drying and ventilating properly after washing
Periodic inspection and checking the condition of the grout lines
By implementing these measures, your grout will not only stay clean and healthy, but it will also increase the lifespan of the tiled floor and wall. Moreover, it will reduce repair costs and the need for continuous cleaning.
In the end, it is choosing quality materials and regular protection that makes the difference between vulnerable, short-lived grout and clean, durable grout.